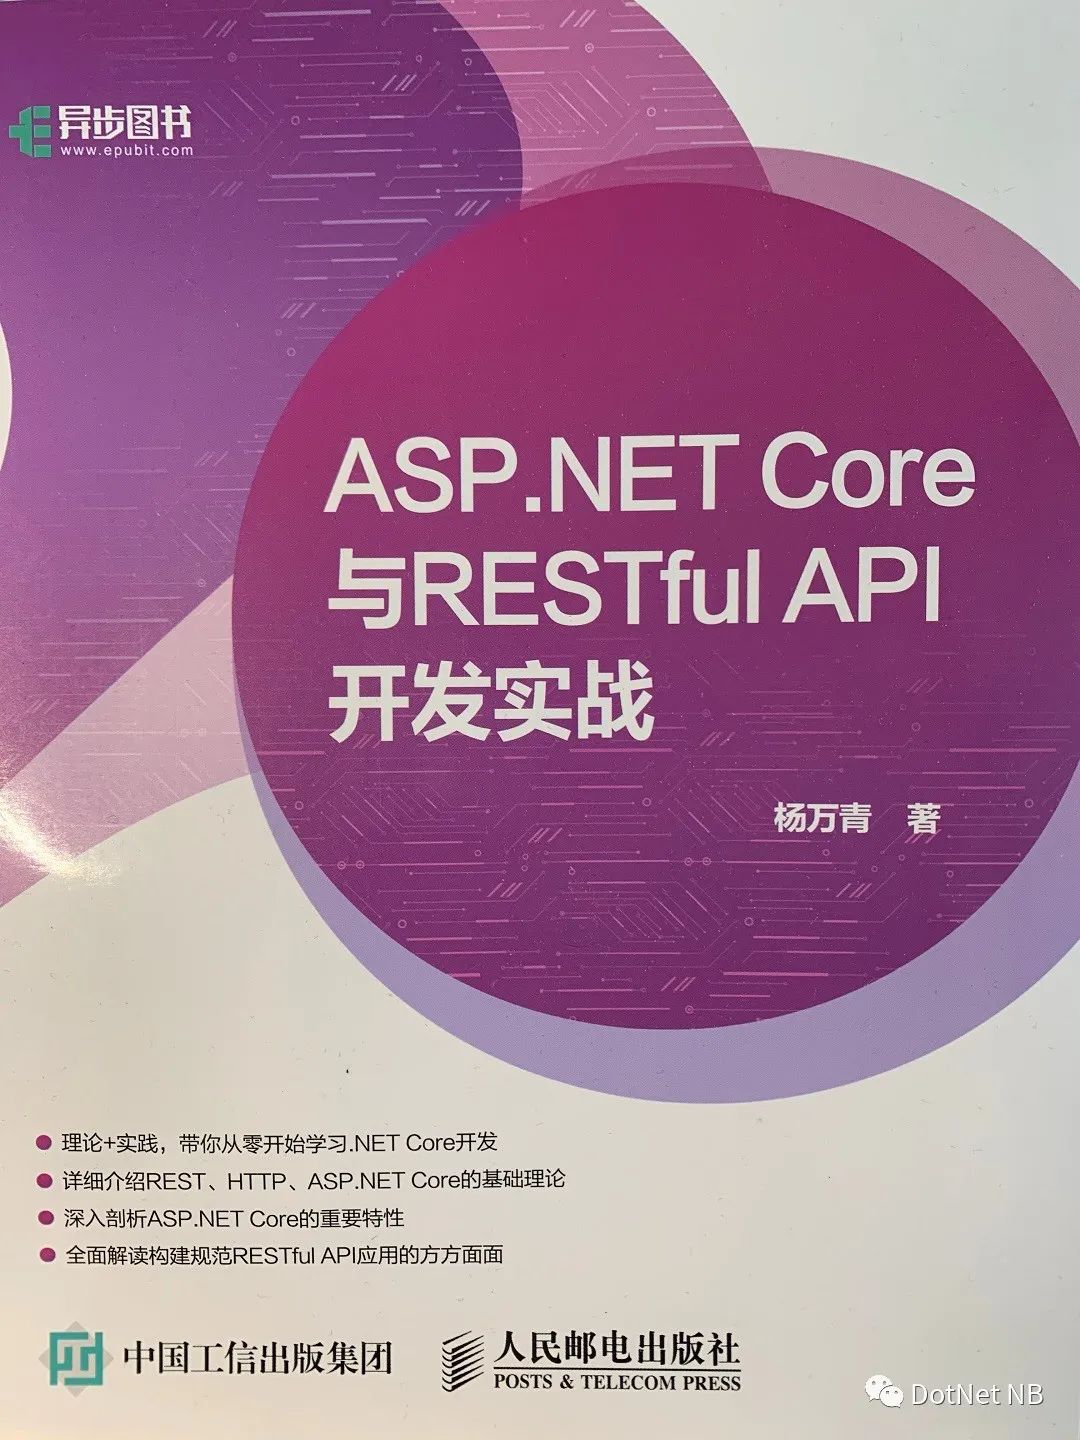
《ASP.NET Core 与 RESTful API 开发实战》-- (第9章)-- 读书笔记(下)

集成测试
集成测试能够确保应用程序的组件正常工作,包括应用程序支持的基础结构,如数据库和文件系统等
进行集成测试时,应为项目添加 Microsoft.AspNetCore.MvcTesting 包
它提供了 WebApplicationFactory 类,用于创建内存中的测试服务器,其定义和主要成员如下:
public class WebApplicationFactory : IDisposable where TEntryPoint : class
{
    public TestServer Server
    {
      get
      {
        this.EnsureServer();
        return this._server;
      }
    }

    public IReadOnlyList> Factories
    {
      get
      {
        return (IReadOnlyList>) this._derivedFactories.AsReadOnly();
      }
    }

    public WebApplicationFactoryClientOptions ClientOptions { get; private set; } = new WebApplicationFactoryClientOptions();

    public HttpClient CreateClient()
    {
      return this.CreateClient(this.ClientOptions);
    }

    public HttpClient CreateClient(WebApplicationFactoryClientOptions options)
    {
      return this.CreateDefaultClient(options.BaseAddress, options.CreateHandlers());
    }

    protected virtual void ConfigureClient(HttpClient client)
    {
      if (client == null)
        throw new ArgumentNullException(nameof (client));
      client.BaseAddress = new Uri("http://localhost");
    }

    protected override void ConfigureWebHost(IWebHostBuilder builder)
    {
    this._configuration(builder);
    }

    protected override TestServer CreateServer(IWebHostBuilder builder)
    {
    return this._createServer(builder);
    }

    protected override IWebHostBuilder CreateWebHostBuilder()
    {
    return this._createWebHostBuilder();
    }

    protected override IEnumerable GetTestAssemblies()
    {
    return this._getTestAssemblies();
    }
}
WebApplicationFactory 的泛型参数 TEntryPoint 表示被测试应用程序的入口,通常为 startup 类
WebApplicationFactory 的 CreateClient 方法能够创建 HttpClient 对象,在测试方法中,正是通过 HttpClient 对象所提供的方法对接口进行请求来完成测试
为了方便测试,xUnit 提供了 IClassFixture
在测试项目中添加一个类 AuthorController_IntegrationTests,该类主要包含了针对 AuthorController 中各个方法的集成测试
namespace Library.API.Testing
{
    public class AuthorController_IntegrationTests : IClassFixture>
    {
        private readonly WebApplicationFactory _factory;

        public AuthorController_IntegrationTests(WebApplicationFactory factory)
        {
            _factory = factory;
        }
    }
}
AuthorController_IntegrationTests 构造函数的 factory 参数将会在该类实例时由 xUnit 自动构建并注入
下面是对 AuthorController 中 GetAuthorByIdAsync 方法的测试
[Theory]
[InlineData("6e51f1e7-4465-43c6-9c72-e5f2736fbe19")]
[InlineData("2faa406d-bb28-4832-aa76-d71f70470f6e")]
public async Task Test_GetAuthorById(string authorId)
{
    // Arrange
    var client = _factory.CreateClient();

    // Act
    var response = await client.GetAsync($"api/authors/{authorId}");

    // Assert
    response.EnsureSuccessStatusCode();
    Assert.Equal("application/json; charset=utf-8", response.Content.Headers.ContentType.ToString());
    Assert.Contains(authorId, await response.Content.ReadAsStringAsync());
}
下面的测试方法分别验证了请求不存在资源时是否返回 404 Not Found 状态码,以及当请求一个格式不正确的资源 Id 时是否返回 400 Bad Request 状态码
[Fact]
public async Task Test_GetAuthorByNotExistId()
{
    // Arrange
    var client = _factory.CreateClient();

    // Act
    var response = await client.GetAsync($"api/authors/{Guid.NewGuid()}");

    // Assert
    Assert.Equal(HttpStatusCode.NotFound, response.StatusCode);
}

[Theory]
[InlineData("a")]
[InlineData("12")]
public async Task Test_GetAuthorByNotInvalidId(string authorId)
{
    // Arrange
    var client = _factory.CreateClient();

    // Act
    var response = await client.GetAsync($"api/authors/{authorId}");

    // Assert
    Assert.Equal(HttpStatusCode.BadRequest, response.StatusCode);
}
到目前为止,所有测试的接口均不需要认证,而对于涉及认证的接口,需要在数据准备阶段完成必要的操作,如获取 Bearer Token 等
下面的测试方法首先验证了当客户端不指定认证信息时,是否返回 401 Not Authorized 状态码
[Fact]
public async Task Test_CreateAuthor_Unauthorized()
{
    // Arrange
    var client = _factory.CreateClient();
    var authorDto = new AuthorDto
    {
        Name = "Test Author",
        Email = "author_testing@xxx.com",
        Age = 50
    };
    var jsonContent = JsonConvert.SerializeObject(authorDto);

    // Act
    var response = await client.PostAsync("api/authors", new StringContent(content: jsonContent));

    // Assert
    Assert.Equal(HttpStatusCode.Unauthorized, response.StatusCode);
}
上面对创建作者的接口进行了测试,执行测试之前,请确保已经为该接口添加了 [Authorize] 特性
如果要获取一个 Bearer Token,则需要以 POST 方式请求 author/token 或 author/token2,并在请求时提供用户名和密码
因此首先在 AuthorController_IntegrationTests 中添加一个 LoginUser 对象,并在构造函数中将其实例化
private readonly WebApplicationFactory _factory;
private readonly LoginUser _loginUser;

public AuthorController_IntegrationTests(WebApplicationFactory factory)
{
    _factory = factory;
    _loginUser = new LoginUser
    {
        UserName = "demouser",
        Password = "demopassword"
    };
}
接下来为 HttpClient 添加扩展方法 TryGetBearerTokenAsync,用于为指定的用户获取 BearerToken
public static class HttpClientExtensions
{
    public static async Task<(bool result, string token)> TryGetBearerTokenAsync(this HttpClient httpClient,
        LoginUser loginUser)
    {
        var userCredentialInfo = new StringContent(
            content: JsonConvert.SerializeObject(loginUser),
            encoding: Encoding.UTF8,
            mediaType: "application/json");
        var response = await httpClient.PostAsync("auth/token", userCredentialInfo);
        var tokenResult = await response.Content.ReadAsAsync();
        if (tokenResult == null)
        {
            return (false, null);
        }
        else
        {
            return (true, tokenResult.Token);
        }
    }
}

public class TokenResult
{
    public DateTimeOffset Expiration { get; set; }
    public string Token { get; set; }
}
接下来添加对 CreateAuthor 接口的正常测试,在调用 HttpClient 对象的 PostAsync 方法之前在请求中添加对 Authorization 消息头,并使它的值为 Bearer
[Fact]
public async Task Test_CreateAuthor()
{
    // Arrange
    var client = _factory.CreateClient();
    var authorDto = new AuthorDto
    {
        Name = "Test Author",
        Email = "author_testing@xx.com",
        Age = 50
    };

    var jsonContent = JsonConvert.SerializeObject(authorDto);
    var bearerResult = await client.TryGetBearerTokenAsync(_loginUser);
    if (!bearerResult.result)
    {
        throw new Exception("Authentication failed");
    }

    client.DefaultRequestHeaders.Add(HeaderNames.Authorization, $"Bearer {bearerResult.token}");

    // Act
    var response = await client.PostAsync("api/authors",
        new StringContent(content: jsonContent, encoding: Encoding.UTF8, mediaType: "application/json"));

    // Assert
    Assert.Equal(HttpStatusCode.Created, response.StatusCode);
}
WebApplicationFactory
WebApplicationFactory
创建 CustomWebApplicationFactory
public class CustomWebApplicationFactory<TStartup> : WebApplicationFactory<Startup>
{
    protected override void ConfigureWebHost(IWebHostBuilder builder)
    {
        builder.ConfigureServices(services =>
        {
            var serviceProvider = new ServiceCollection()
                .AddEntityFrameworkInMemoryDatabase()
                .BuildServiceProvider();

            services.AddDbContext(options =>
            {
                options.UseInMemoryDatabase("LibraryTestingDb");
                options.UseInternalServiceProvider(serviceProvider);
            });

            var sp = services.BuildServiceProvider();
            using (var scope = sp.CreateScope())
            {
                var scopedServices = scope.ServiceProvider;
                var db = scopedServices.GetRequiredService();
                db.Database.EnsureCreated();
            }
        });
    }
}
接下来,只需要修改 AuthorController_IntegrationTests 类实现的接口为 IClassFixture
public class AuthorController_IntegrationTests : IClassFixture>
{
    public AuthorController_IntegrationTests(CustomWebApplicationFactory factory)
    {
        。。。
    }
}
再次运行该类中的所有测试方法,所有的操作数据都是 EF Core 所创建的内存数据库
9.2 文档
Swagger,也称 OpenAPI,是一个与语言无关的规范,被广泛用于实现 API 文档化,它能够描述 RESTful API,并为 API 生成人与计算机都容易理解的文档
安装
Install-Package Swashbuckle.AspNetCore
接下来,在 Startup 类的 ConfigureServices 方法中添加 Swagger 生成器
services.AddSwaggerGen(c =>
{
    c.SwaggerDoc("v1", new OpenApiInfo
    {
        Title = "Library API",
        Version = "v1"
    });
});
在 Configure 方法中添加 Swagger 中间件和 SaggerUI 中间件
app.UseSwagger();
app.UseSwaggerUI(c =>
{
    c.SwaggerEndpoint("/swagger/v1/swagger.json", "Library API V1");
});
app.UseMvc();
运行程序,访问 https://localhost:5001/swagger/v1/swagger.json
该页面会显示 Swagger 生成的 JSON 文档
访问 https://localhost:5001/swagger 可以看到 SwaggerUI,它是 Swagger 文档更友好的展示方式
如果不希望在文档中展示某个 Controller 或其中某个 Action,可以添加 [ApiExplorerSettings] 特性,将 IgnoreApi 属性设置为 true
[ApiExplorerSettings(IgnoreApi = true)]
Swagger UI 默认的 URL 是 http://
app.UseSwaggerUI(c =>
{
    c.RoutePrefix = string.Empty;
    c.SwaggerEndpoint("/swagger/v1/swagger.json", "Library API V1");
});
Swagger 文档能够包含在代码中的 XML 注释,这会进一步增加 Swagger 文档的可读性
在项目属性窗口中的”生成“页上勾选”XML文档文件“来启用自动生成 XML 注释文档功能
为了使 Swagger 文档能够更详细地显示接口的意义,应尽可能地为 Controller 以及其中的 Action 添加描述其功能的 XML 注释
接下来,修改 ConfigureService 方法,使 Swagger 文档中包含 XML 注释文档的内容
services.AddSwaggerGen(c =>
{
    c.SwaggerDoc("v1", new OpenApiInfo
    {
        Title = "Library API",
        Version = "v1"
    });

    var xmlFile = Path.ChangeExtension(typeof(Startup).Assembly.Location, ".xml");
    c.IncludeXmlComments(xmlFile);
});
下例为 CreateAuthorAsync 方法添加 XML 注释
///
/// 添加一个作者
///
/// 作者
///
/// 添加作者的要求:
///
/// POST api/authors
/// {
/// "name" : "Author1",
/// "Email" : "xxx@xxx.com"
/// }
///
///
///
///
[HttpPost(Name = nameof(CreateAuthorAsync))]
[ProducesResponseType(201,Type = typeof(AuthorDto))]
[ProducesResponseType(400, Type = typeof(void))]
public async Task CreateAuthorAsync(AuthorForCreationDto authorForCreationDto)
{
。。。
}
除了手动使用 [ProducesResponseType] 特性列出所有可能返回的状态码外,ASP.NET.Core 还提供了 Web API 约定
[ApiConventionMethod(typeof(DefaultApiConventions), nameof(DefaultApiConventions.Create))]相关文章
《ASP.NET Core 与 RESTful API 开发实战》-- (第9章)-- 读书笔记(上)
《ASP.NET Core 与 RESTful API 开发实战》-- (第8章)-- 读书笔记(尾)
《ASP.NET Core 与 RESTful API 开发实战》-- (第8章)-- 读书笔记(下)
《ASP.NET Core 与 RESTful API 开发实战》-- (第8章)-- 读书笔记(中)
《ASP.NET Core 与 RESTful API 开发实战》-- (第8章)-- 读书笔记(上)
《ASP.NET Core 与 RESTful API 开发实战》-- (第7章)-- 读书笔记(下)
《ASP.NET Core 与 RESTful API 开发实战》-- (第7章)-- 读书笔记(中)
《ASP.NET Core 与 RESTful API 开发实战》-- (第7章)-- 读书笔记(上)
《ASP.NET Core 与 RESTful API 开发实战》-- (第6章)-- 读书笔记(下)
《ASP.ENT Core 与 RESTful API 开发实战》-- (第6章)-- 读书笔记(上)
《ASP.ENT Core 与 RESTful API 开发实战》-- (第5章)-- 读书笔记(下)
《ASP.ENT Core 与 RESTful API 开发实战》-- (第5章)-- 读书笔记(中)
《ASP.ENT Core 与 RESTful API 开发实战》-- (第5章)-- 读书笔记(上)
《ASP.ENT Core 与 RESTful API 开发实战》-- (第4章)-- 读书笔记(下)
《ASP.ENT Core 与 RESTful API 开发实战》-- (第4章)-- 读书笔记(上)
《ASP.ENT Core 与 RESTful API 开发实战》(第3章)-- 读书笔记(下)
《ASP.ENT Core 与 RESTful API 开发实战》(第3章)-- 读书笔记(中)
《ASP.ENT Core 与 RESTful API 开发实战》(第3章)-- 读书笔记(上)
《ASP.ENT Core 与 RESTful API 开发实战》-- 读书笔记(第2章)
《ASP.ENT Core 与 RESTful API 开发实战》-- 读书笔记(第1章)
