VuePress 博客优化之 last updated 最后更新时间如何设置
作者:冴羽
来源:SegmentFault 思否社区
前言
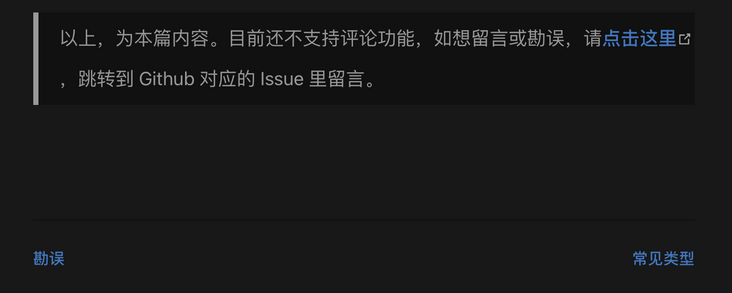
在 《一篇带你用 VuePress + Github Pages 搭建博客》中,我们使用 VuePress 搭建了一个博客,但是浏览最终搭建的站点:TypeScript4 中文文档,我们会发现,在每篇文章的底部,并没有像 VuePress 官方文档那样,出现最后更新的时间:

这篇我们来探究下如何实现最后更新时间。
TypeScript4 中文文档链接:http://ts.yayujs.com/
官方自带
查阅 VuePress 的官方文档,我们可以知道,VuePress 自带显示最后更新时间的插件,在默认主题下,无需安装本插件,因为 VuePress 的 core 中已经包含此插件。
VuePress 官方文档链接:
https://vuepress.vuejs.org/zh/plugin/official/plugin-last-updated.html
你可以在 config.js 文件中直接使用:
// .vuepress/config.js
module.exports = {
  themeConfig: {
    lastUpdated: '上次更新', // string | boolean
  }
}
注意,themeConfig.lastUpdated 默认是关闭的,在给定一个字符串后,它会作为前缀显示(默认值是:Last Updated)。
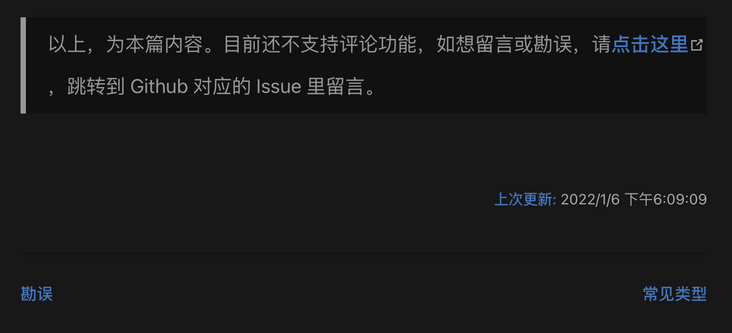
在这个示例代码中,我们设置 lastUpdated 的值为 "上次更新",最终的效果应该跟上面的 VuePress 官网的截图是一致的。
在这里,也给了一个使用须知:
由于 lastUpdated 是基于 git 的, 所以你只能在一个基于 git 的项目中启用它。此外,由于使用的时间戳来自 git commit,因此它将仅在给定页的第一次提交之后显示,并且仅在该页面后续提交更改时更新。
那我们按照文档配置一下试试,结果发现并没有出现所谓的最后更新时间,因为没有内容显示,显得这里的空白也很大:

查看插件源码
那这是为什么呢?回顾下我们代码编译和提交的过程,其实我们是在本地写好源码,然后执行构建命令,将构建后的结果 git init,然后强制提交到远程仓库。这从我们的 deploy.sh 脚本文件可以看出:
npm run docs:build

cd docs/.vuepress/dist

git init
git add -A
git commit -m 'deploy'

git push -f git@github.com:mqyqingfeng/learn-typescript.git master:gh-pages
那应该没有什么问题呀,我们就是作为 git 仓库提交的,也提交了一个 commit,为什么会显示不出来呢?
而且说起来,last updated 最后更新时间是怎么生成的呢?他怎么就根据 git 的提交记录自动生成时间了呢?
为了解决这个问题,也为了满足我们的好奇心,我们不妨去看下这个 npm 包 @vuepress/plugin-last-updated 的源码,结果发现它的源码意外的简单:
源码链接:http://github.com/vuejs/vuepress/blob/master/packages/%40vuepress/plugin-last-updated/index.js
const path = require('path')
const spawn = require('cross-spawn')

/**
 * @type {import('@vuepress/types').Plugin}
 */
module.exports = (options = {}, context) => ({
  extendPageData ($page) {
    const { transformer, dateOptions } = options
    const timestamp = getGitLastUpdatedTimeStamp($page._filePath)
    const $lang = $page._computed.$lang
    if (timestamp) {
      const lastUpdated = typeof transformer === 'function'
        ? transformer(timestamp, $lang)
        : defaultTransformer(timestamp, $lang, dateOptions)
      $page.lastUpdated = lastUpdated
      $page.lastUpdatedTimestamp = timestamp
    }
  }
})

function defaultTransformer (timestamp, lang, dateOptions) {
  return new Date(timestamp).toLocaleString(lang, dateOptions)
}

function getGitLastUpdatedTimeStamp (filePath) {
  let lastUpdated
  try {
    lastUpdated = parseInt(spawn.sync(
      'git',
      ['log', '-1', '--format=%at', path.basename(filePath)],
      { cwd: path.dirname(filePath) }
    ).stdout.toString('utf-8')) * 1000
  } catch (e) { /* do not handle for now */ }
  return lastUpdated
}
通过源码,我们可以发现,之所以能生成时间,其实是通过利用 git log 命令获取时间,然后写入 $page 全局属性中。
$page
那 $page 是什么呢,我们查看官方文档 - 全局计算属性章节:
官方文档 - 全局计算属性章节链接:
https://vuepress.vuejs.org/zh/guide/global-computed.html#site
在 VuePress 中,内置了一些核心的计算属性,以供默认主题或自定义主题使用。
计算属性链接:https://cn.vuejs.org/v2/guide/computed.html
对于每个页面,都会有一个 $page 计算属性,官方还给了一个 $page 的示例:
{
  "title": "Global Computed",
  "frontmatter": {
    "sidebar": "auto"
  },
  "regularPath": "/zh/miscellaneous/global-computed.html",
  "key": "v-bc9a3e3f9692d",
  "path": "/zh/miscellaneous/global-computed.html",
  "headers": [
    {
      "level": 2,
      "title": "$site",
      "slug": "site"
    },
    {
      "level": 2,
      "title": "$page",
      "slug": "page"
    },
    ...
  ]
}
我们由此可以想到,VuePress 其实针对每个页面都生成了一个 $page 计算属性,然后在多个地方展示计算属性的值,那突破口就来了,如果我们像源码那样,直接向 $page 写入一个 lastUpdated 属性呢?
Markdown 中使用 Vue
我们每个页面都是根据 markdown 文件生成的,我们怎么在一个 markdown 文件中向 $page 写入一个 lastUpdated 属性呢,还好在 VuePress 中,markdown 是可以直接使用 Vue 语法的,这里使用 vuepress-theme-reco 主题的示例代码作为讲解:
// 在 markdown 文案中直接写

<p class="demo" :class="$style.example"></p>

<style module>
.example {
  color: #41b883;
}
</style>

<script>
export default {
  props: ['slot-key'],
  mounted () {
    document.querySelector(`.${this.$style.example}`)
      .textContent = '这个块是被内联的脚本渲染的,样式也采用了内联样式。'
  }
}
</script>
在页面的展示效果如下:

那么我们直接在 Markdown 中直接写入如下的 Vue 代码:
<script>
export default {
    mounted () {
      this.$page.lastUpdated = "2022/1/6 下午6:09:09";
    }
  }
</script>
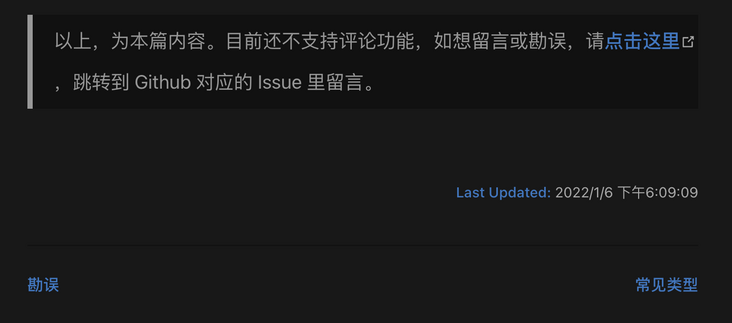
我们本地运行代码,然后查看页面,就会发现真的成功写入了最后更新时间:

Vue 组件
但是这样每篇都插入一段 Vue 代码,很麻烦呀,我可以勉强接受手动更新一下时间,但我不能接受每次那么多篇都要手动改一下呀,即便用批量替换也有点麻烦,就没有更优化的方式吗?
那我们可以将这段 Vue 代码抽离成一个 Vue 组件,将具体的时间封装在组件中,然后每个 md 文件引入这个组件即可,而 VuePress 也是可以支持引入组件的。查看下官方文档:
官方文档链接:
https://vuepress.vuejs.org/zh/guide/using-vue.html#escaping
所有在 .vuepress/components 中找到的 *.vue 文件将会自动地被注册为全局的异步组件,如:
.
└─ .vuepress
   └─ components
      ├─ demo-1.vue
      ├─ OtherComponent.vue
      └─ Foo
         └─ Bar.vue
你可以直接使用这些组件在任意的Markdown文件中(组件名是通过文件名取到的)
<demo-1/>
<OtherComponent/>
<Foo-Bar/>
那我们就在 .vuepress 文件夹下新建一个 components 文件夹,然后创建一个 LastUpdated.vue 文件,代码为:
<template>
</template>

<script>
export default {
  props: ['slot-key'],
  mounted () {
      this.$page.lastUpdated = "2022/1/6 下午2:00:00";
  }
};
</script>
然后我们在具体要使用这个时间的 md 文件里写入:
<LastUpdated />
自然也是成功的写入了时间:

这样我们每次修改 LastUpdated 组件里的时间,所有引入该组件的地方时间都会改变。
Markdown
这个问题看似是通过曲线救国的方式解决了,就是每次都需要手动更新一次,而且所有引用的地方都会更新,如果要实现某个地方局部更新,还要自己写入时间,其实还是有点麻烦的。
让我们再回顾下官方文档里的介绍:
由于 lastUpdated 是基于 git 的, 所以你只能在一个基于 git 的项目中启用它。此外,由于使用的时间戳来自 git commit,因此它将仅在给定页的第一次提交之后显示,并且仅在该页面后续提交更改时更新。
还有官方文档里的这句:
lastUpdated 是这个文件最后一次 git 提交的 UNIX 时间戳
那这句里的 「这个文件」到底是指哪个文件呢?回想下我们的提交方式,我们每次只提交了编译后的文件,编译的文件为 HTML 文件,虽然它是以 git 仓库的形式提交的,但在它编译完后就应该已经是静态的了,不可能是在运行 HTML 文件的时候再通过 git 仓库获取最后提交时间的吧,所以这个文件不应该是指编译后的文件,那排除掉编译后的文件,其实我们就可以想到,这里的文件指的其实应该是你编写的 markdown 文件。在你执行编译命令的时候,从 git log 中获取时间,写入编译后的代码中。
这也可以解释为什么我们按照官方文档配置后,没有显示时间,因为我们的源码确实不是 git 仓库,我们只是把编译后的代码生成了一个代码仓库提交上去,那自然是获取不到时间。
所以我们进入源码的根目录,然后执行 git init,要注意,如果要生成最后更新时间,需要:
仓库 git init 文件至少 commit 一次
You've added another git repository inside your current repository.
node_modules
dist

Last updated
module.exports = {
    themeConfig: {
        lastUpdated: '上次更新'
    }
}

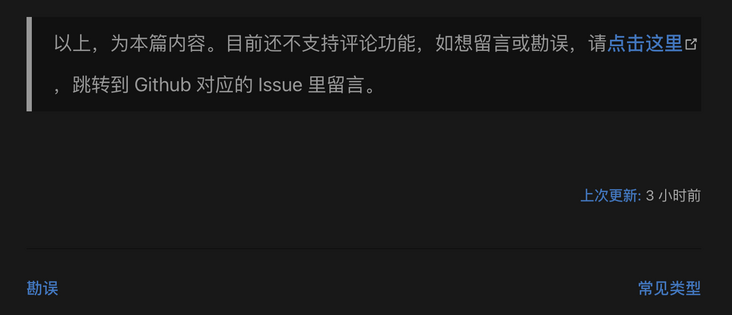
更改格式
const moment = require('moment');

module.exports = {
  plugins: [
    [
      '@vuepress/last-updated',
      {
        transformer: (timestamp, lang) => {
          // 不要忘了安装 moment
          const moment = require('moment')
          moment.locale(lang)
          return moment(timestamp).fromNow()
        }
      }
    ]
  ]
}

系列文章
一篇带你用 VuePress + GitHub Pages 搭建博客
https://github.com/mqyqingfeng/Blog/issues/235
一篇教你代码同步 GitHub 和 Gitee
https://github.com/mqyqingfeng/Blog/issues/236
还不会用 GitHub Actions ?看看这篇
https://github.com/mqyqingfeng/Blog/issues/237
Gitee 如何自动部署 Pages?还是用 GitHub Actions!
https://github.com/mqyqingfeng/Blog/issues/238
一份前端够用的 Linux 命令
https://github.com/mqyqingfeng/Blog/issues/239
一份简单够用的 Nginx Location 配置讲解
https://github.com/mqyqingfeng/Blog/issues/242
一篇教你博客如何部署到自己的服务器
https://github.com/mqyqingfeng/Blog/issues/243

