
Spring Boot + GraphQL 才是 API 的未来!
关注公众号,学习更多 Java 干货!
来源:www.toutiao.com/i6929867921162273292
前言
在浅尝GraphQL一文描述了GraphQL及基本使用,本文提供一个基本示例,描述如何基于spring boot的web项目快速应用。
graphql-java的官方文档:Getting started with GraphQL Java and Spring Boot,提供了相关依赖用以快速配置,但是个人真心不建议使用这个库及相关配置方式来搭建脚手架,在实际开发中,业务比较复杂的时候,会导致需要配置的业务代码比较多也比较繁琐,相对下面这种方式,代码复杂性比较高。
本文提供一种更灵活快捷的方式,在spring boot项目中快速应用开发。使用的依赖也和上面官方提供的都不一样,请注意区分。
快速开始
创建spring boot工程
通过Spring Initializr快速搭建,我选的jdk版本及spring boot版本,如下所示,其它版本未做兼容性测试。

点击下方的Generate按钮:

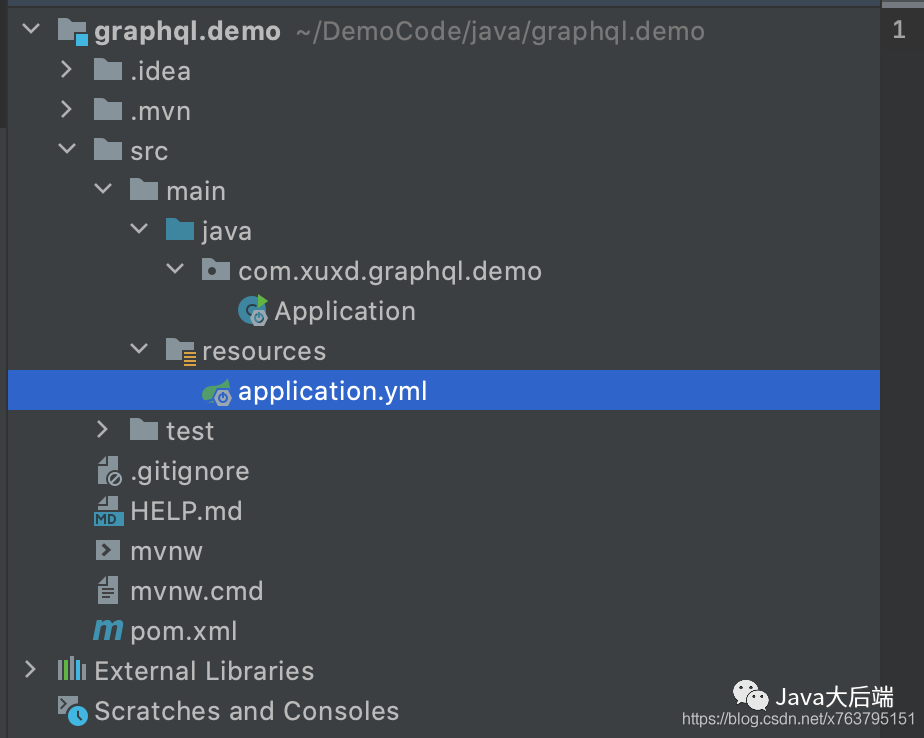
打开工程结构如下,我将application.properties删除了替换成applicaiton.yml,因为我个人比较喜欢yaml的配置方式:
引入相关依赖
pom.xml配置如下:
"1.0" encoding="UTF-8"?>
"http://maven.apache.org/POM/4.0.0" xmlns:xsi="http://www.w3.org/2001/XMLSchema-instance"
 xsi:schemaLocation="http://maven.apache.org/POM/4.0.0 https://maven.apache.org/xsd/maven-4.0.0.xsd">
 4.0.0

  org.springframework.boot
  spring-boot-starter-parent
  2.4.6


 com.xuxd
 graphql.demo
 0.0.1-SNAPSHOT
 graphql.demo
 GraphQL Demo project for Spring Boot

  1.8
  1.8
  1.8
  UTF-8
  UTF-8
  1.18.20
  11.0.1
  2.8.7


   org.springframework.boot
   spring-boot-starter


   org.springframework.boot
   spring-boot-starter-web


   org.springframework.boot
   spring-boot-starter-test
   test


   org.projectlombok
   lombok
   ${lombok.version}
   provided


   com.graphql-java-kickstart
   graphql-java-tools
   ${graphql-java-tools.version}


   com.google.code.gson
   gson
   ${gson.version}


    org.springframework.boot
    spring-boot-maven-plugin
初始化GraphQL实例
我们将创建一个GraphQL实例并将其注册到spring容器中,代码如下。
Spring Boot 基础就不介绍了,推荐下这个实战教程:https://www.javastack.cn/categories/Spring-Boot/
@Component
public class GraphQLProvider {

    private GraphQL graphQL;

    @Autowired
    private IItemService itemService;

    @Bean
    public GraphQL graphQL() {
        return graphQL;
    }

    @PostConstruct
    public void init() throws IOException {
        GraphQLSchema graphQLSchema = SchemaParser.newParser()
            .file("graphql/base.graphqls")
            .resolvers(new Query(), new Mutation())
            .file("graphql/item.graphqls")
            .resolvers(new ItemResolver(itemService))
//            .file("book.graphqls")
//            .resolvers(new BookResolver())  //其它定义照上面的示例,继续增加
            .build().makeExecutableSchema();

        this.graphQL = graphQL.newGraphQL(graphQLSchema).build();
    }

}
关于*.graphqls或者对应的Resolver如ItemResolver,可以参看浅尝GraphQL相关描述,这里只是作了微调整,相关代码如下:
base.grqphqls
schema {
    # 查询
    query: Query
    # 更新
    mutation: Mutation
}

type Query {
    version: String
}

type Mutation {
    version: String
}
item.graphqls
# 定义一个查询类型
extend type Query {
    queryItemList: ItemList  # 定义查询项目列表
    queryById(id: ID): Item
}

extend type Mutation {
    updateName(param: Param): Item
}

# 定义项目字段
type Item {
    id: ID!
    code: String!
    name: String!
}

type ItemList {
    itemList: [Item!]!  #获取项目列表
    total: Int!      # 获取项目总数
}

input Param {
    id: ID!
    name: String!
}
ItemResolver
public class ItemResolver implements GraphQLQueryResolver, GraphQLMutationResolver {

    private IItemService itemService;

    public ItemResolver(IItemService itemService) {
        this.itemService = itemService;
    }

    // 对应item.graphqls里的queryItemList
    public ItemList queryItemList() {
        return itemService.queryItemList();
    }

    public Item queryById(Long id) {
        return itemService.queryById(id);
    }

    public Item updateName(Param param) {
        return itemService.updateName(param);
    }
}
相关业务代码比较多,就不一一贴了。
关注公众号,学习更多 Java 干货!
提供API
我们需要暴露一个接口来接收请求,并作相关处理,也只需提供一个接口即可。因此我们创建一个Controller:GraphqlController.
@RestController
@RequestMapping("/graphql")
@Log
public class GraphqlController {

    @Autowired
    private GraphQL graphQL;

    @PostMapping
    public Object execute(@RequestBody GraphqlRequest request) {
        ExecutionInput executionInput = ExecutionInput.newExecutionInput()
            .query(request.getQuery())
            .variables(request.getVariables())
            .build();
        Map result = new HashMap<>();

        ExecutionResult executionResult = graphQL.execute(executionInput);
        List errors = executionResult.getErrors();

        if (errors != null && !errors.isEmpty()) {
            result.put("errors", errors);
            return result;
        }
        return executionResult.getData();
    }
}
到这一步,其实基本功能都已配置完成,可以启动项目进行相关测试了。
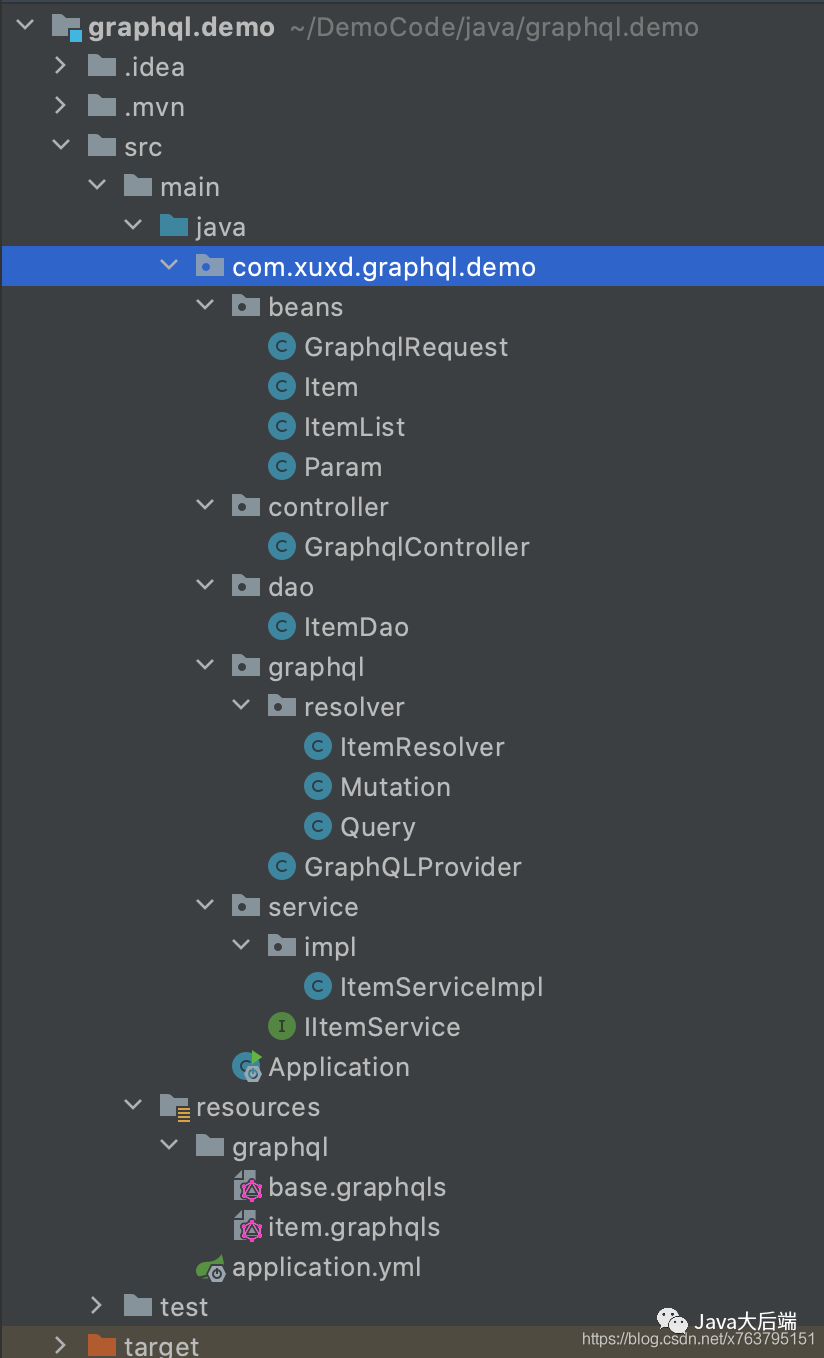
整个项目的代码结构如下,我尽量用了一个比较常规的web项目结构(controller,service,dao等):
测试
示例中总共提供了3个接口,两个查询一个更新,分别进行测试:
ItemList queryItemList();

Item queryById(Long id);

Item updateName(Param param);
查询所有项目列表(只获取每个项目的编码和名称,以及列表总数):

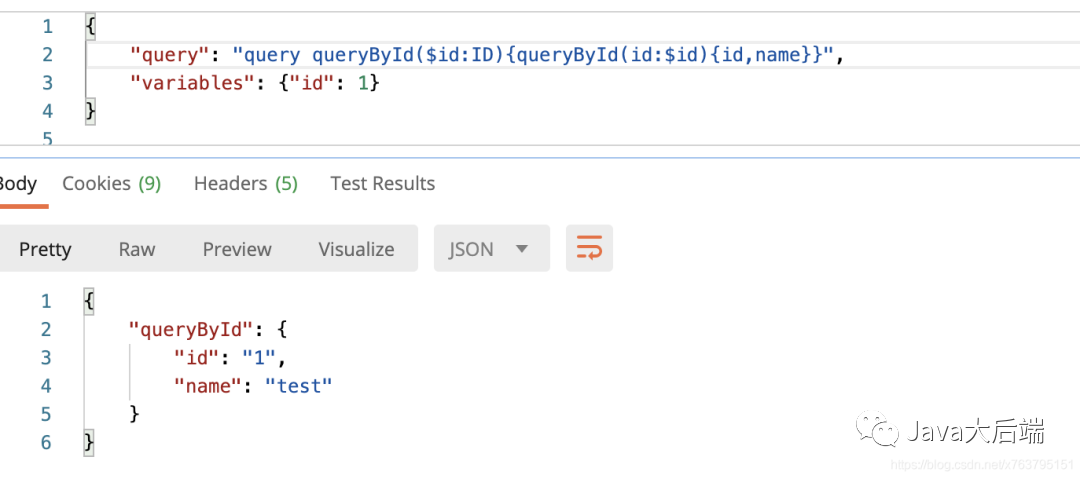
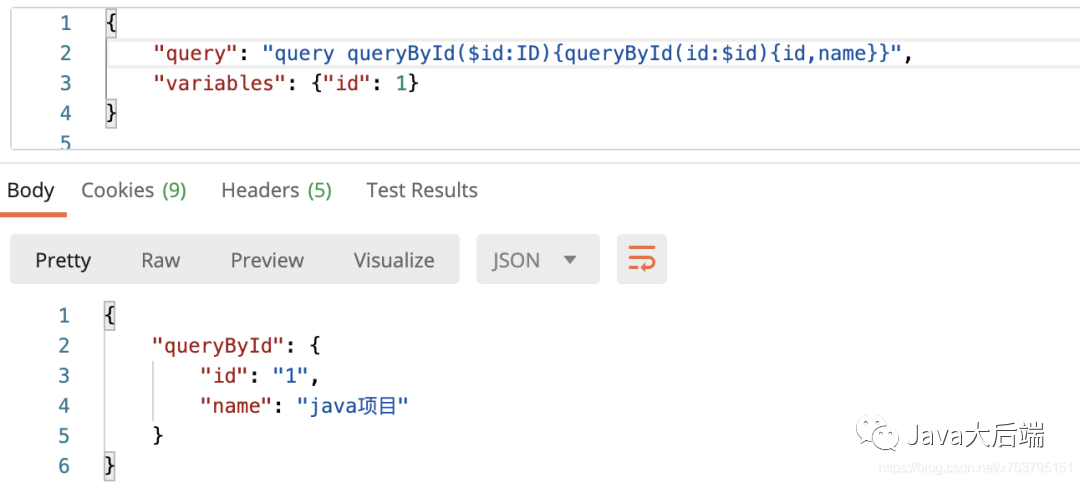
根据ID查询,获取项目的id和名称
更新指定ID的项目名称
我们项目Id为1编码为test的项目修改为“java项目”
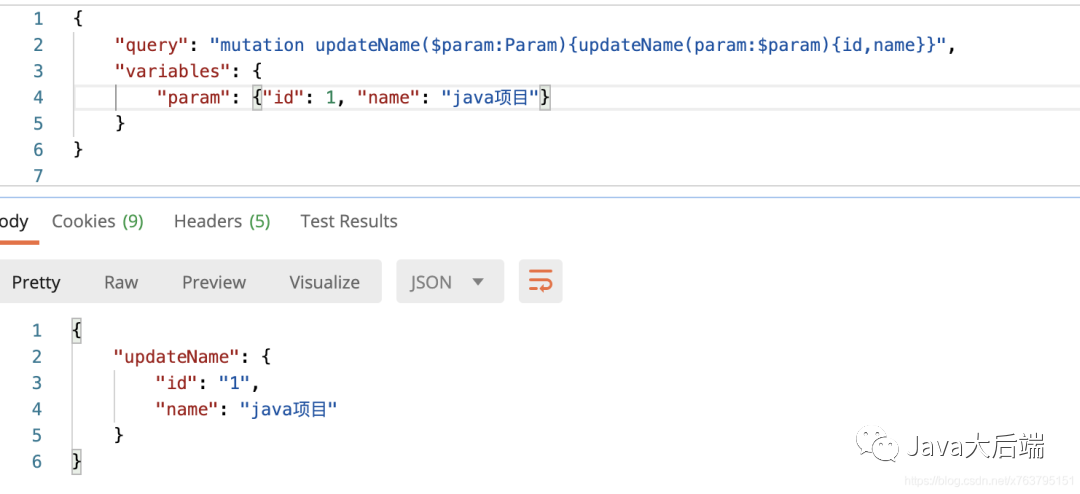
再查询一下,可以看到结果更新了:
结束语
这样整个项目的GraphQL相关的基本配置已经完成,可以进行业务开发了。
(完)