使用Python+OpenCV的色彩过滤和色彩流行效果
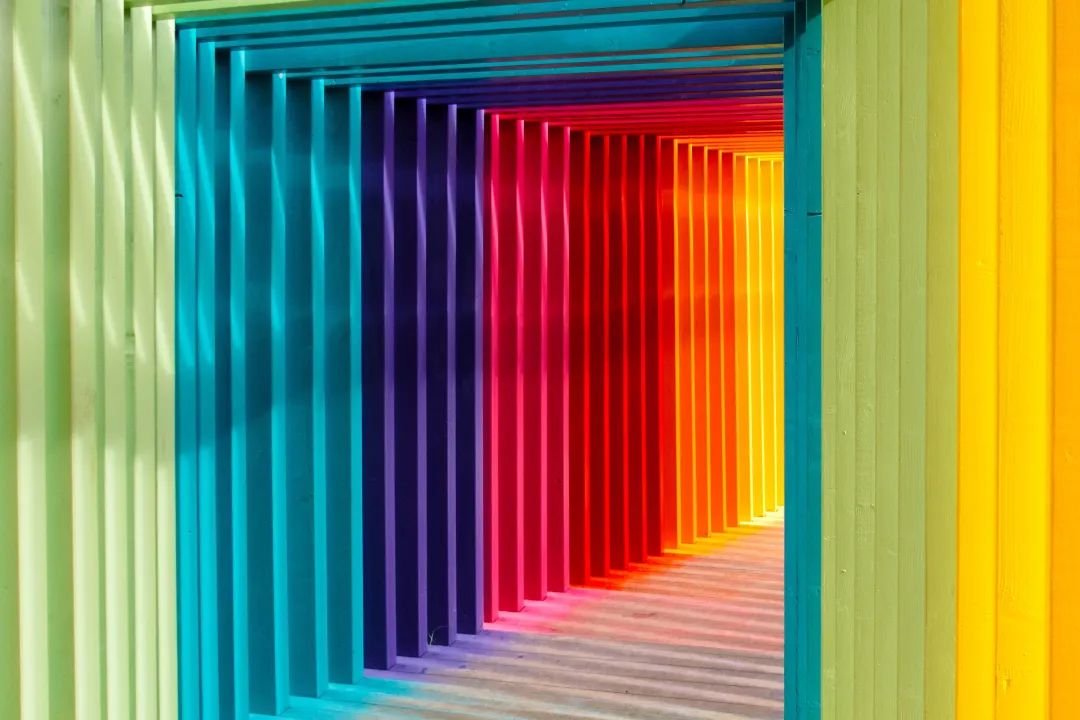
色调
HSV(色调,饱和度,值)
饱和度
值
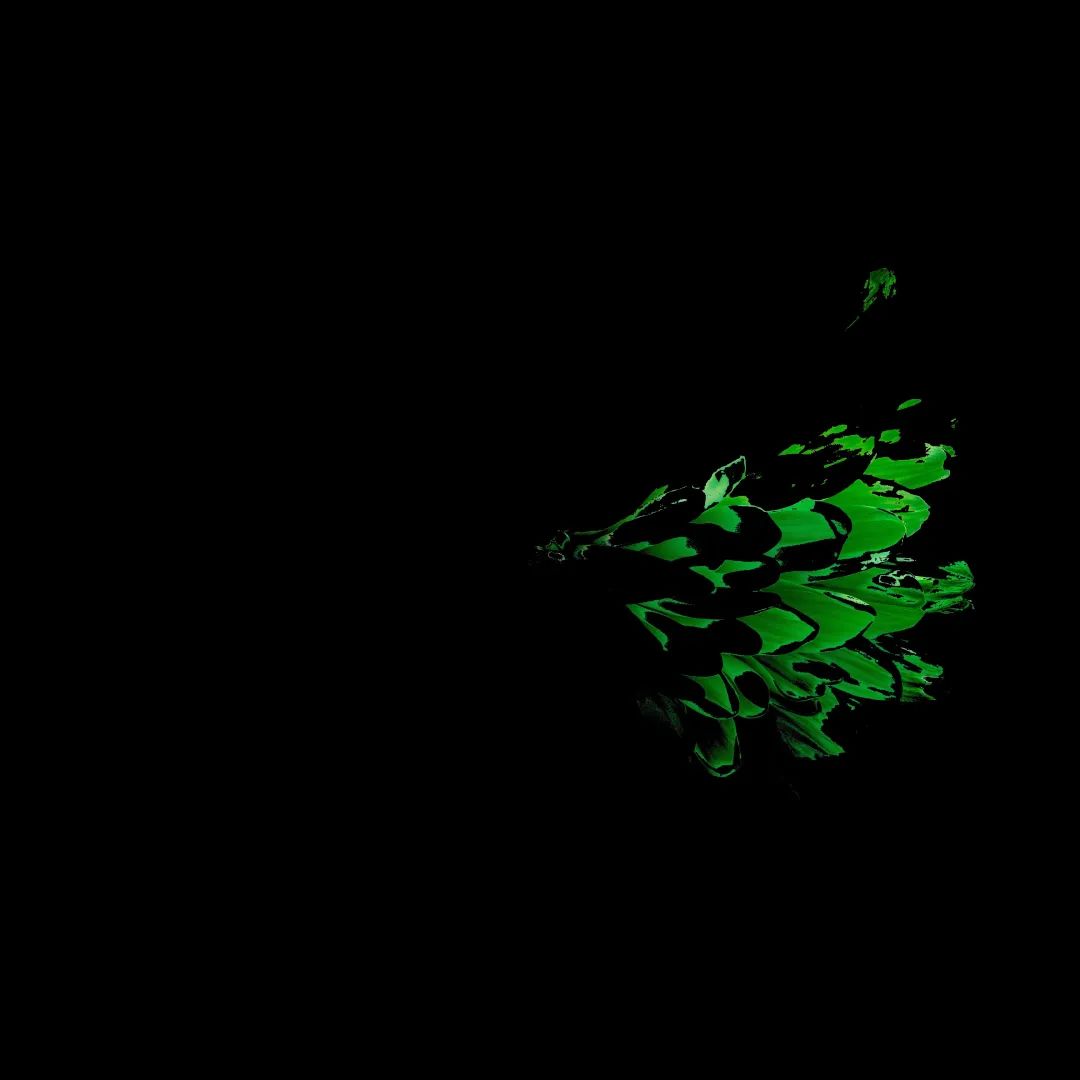
过滤颜色
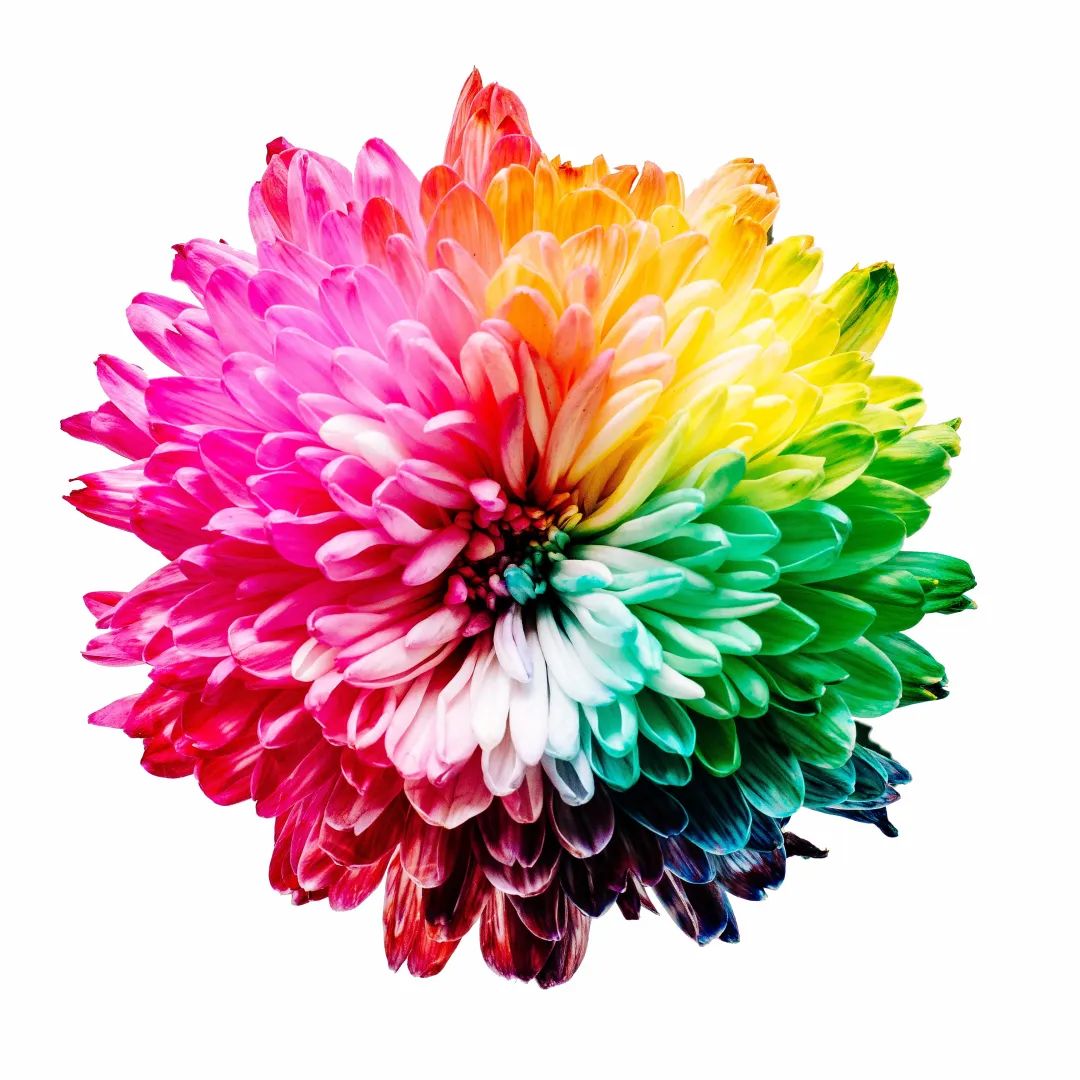
#import the libraries
import cv2 as cv
import numpy as np

#read the image
img = cv.imread("D://medium_blogs//flower.jpg")

#convert the BGR image to HSV colour space
hsv = cv.cvtColor(img, cv.COLOR_BGR2HSV)

#set the lower and upper bounds for the green hue
lower_green = np.array([50,100,50])
upper_green = np.array([70,255,255])

#create a mask for green colour using inRange function
mask = cv.inRange(hsv, lower_green, upper_green)

#perform bitwise and on the original image arrays using the mask
res = cv.bitwise_and(img, img, mask=mask)

#create resizable windows for displaying the images
cv.namedWindow("res", cv.WINDOW_NORMAL)
cv.namedWindow("hsv", cv.WINDOW_NORMAL)
cv.namedWindow("mask", cv.WINDOW_NORMAL)

#display the images
cv.imshow("mask", mask)
cv.imshow("hsv", hsv)
cv.imshow("res", res)

if cv.waitKey(0):
    cv.destroyAllWindows()
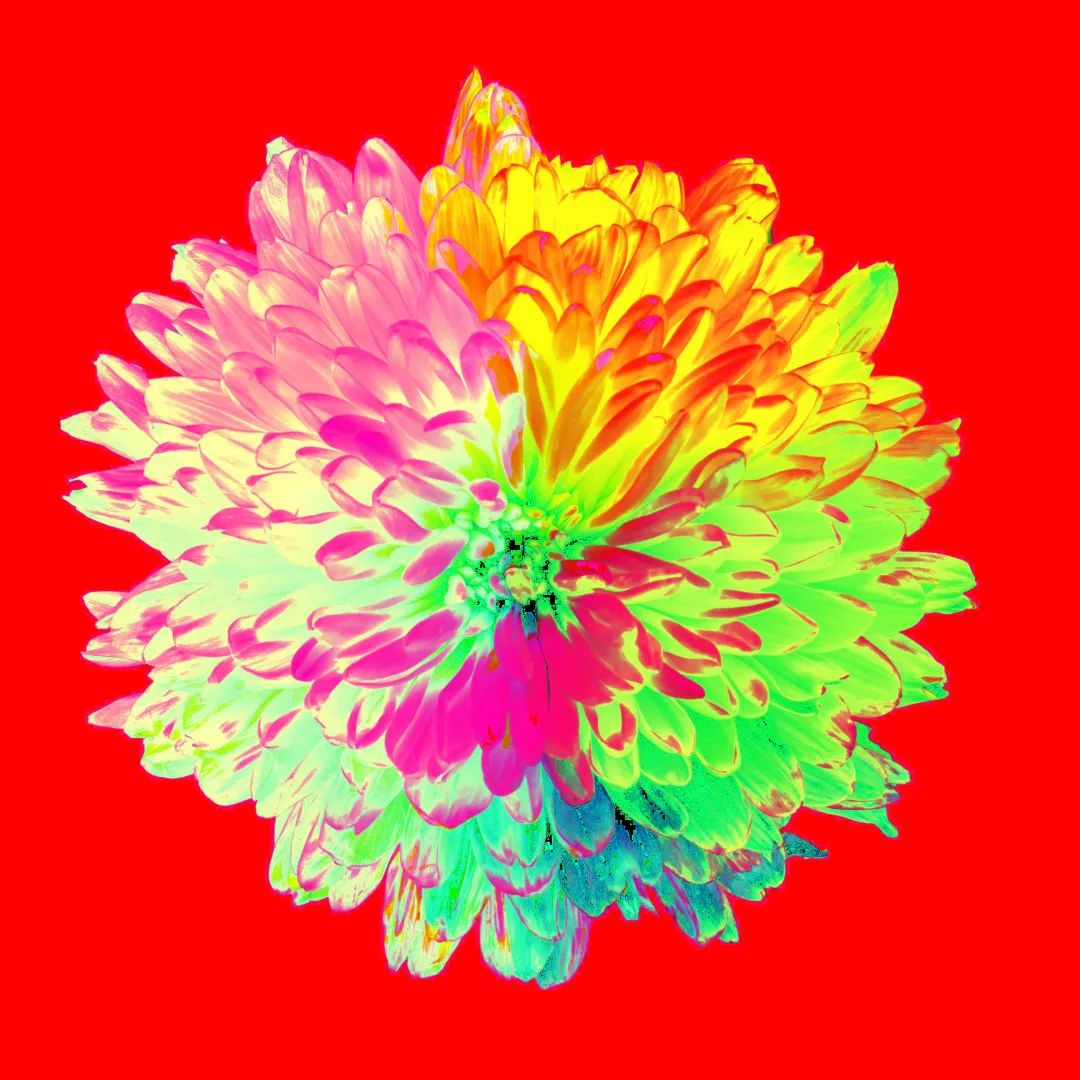
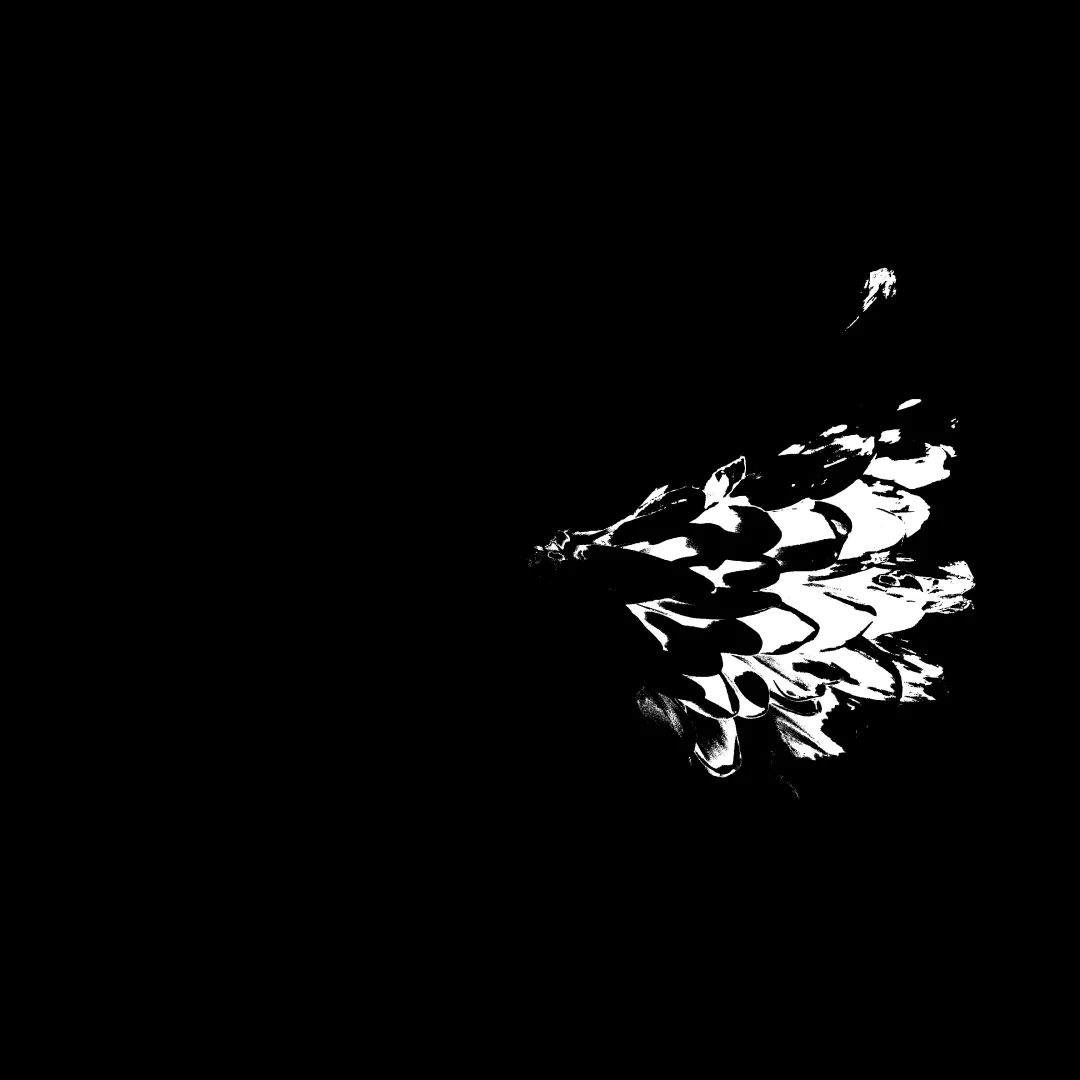
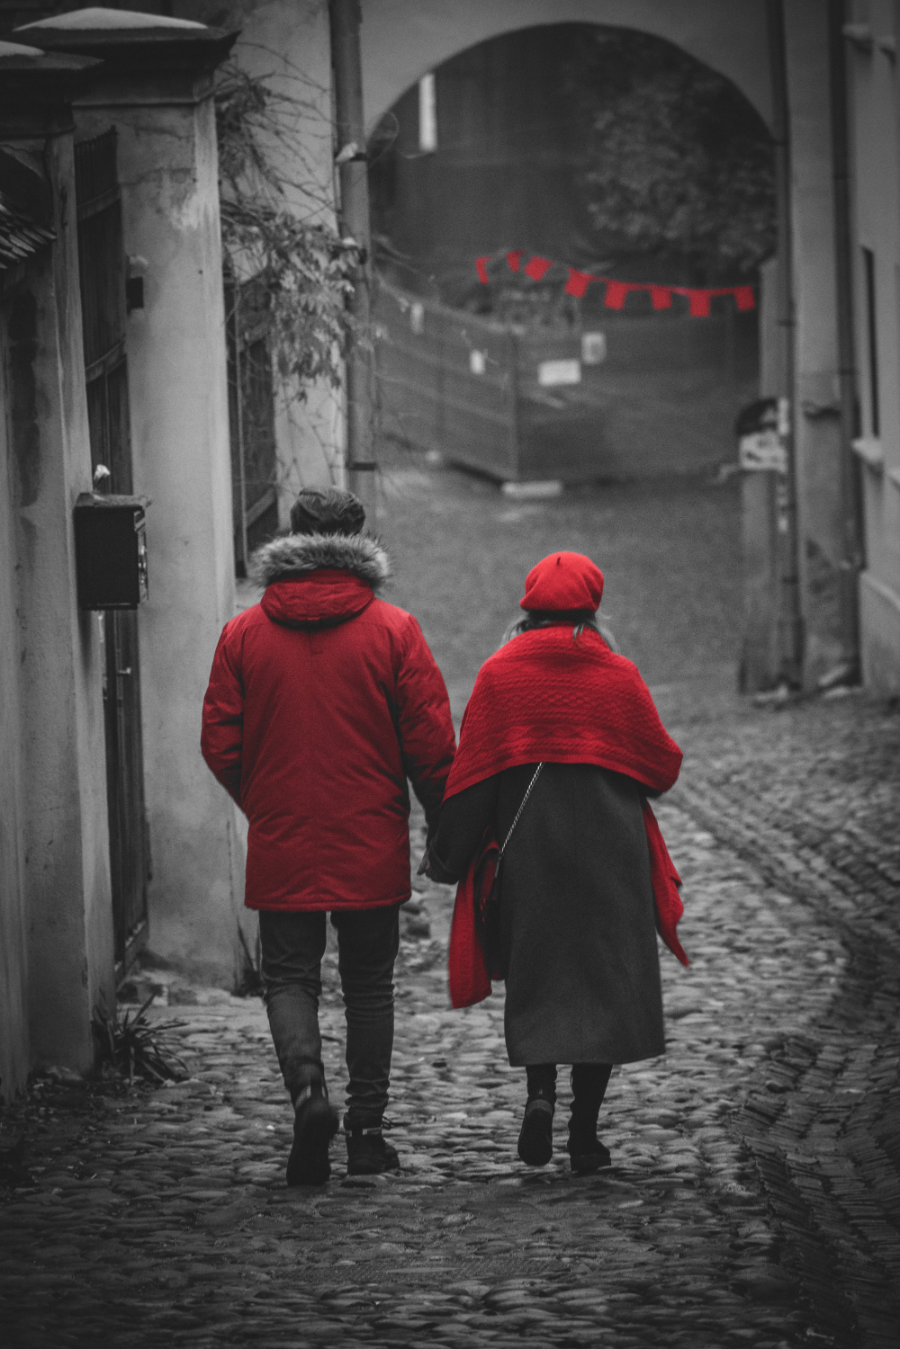
使用色彩过滤的概念创建色彩流行效果
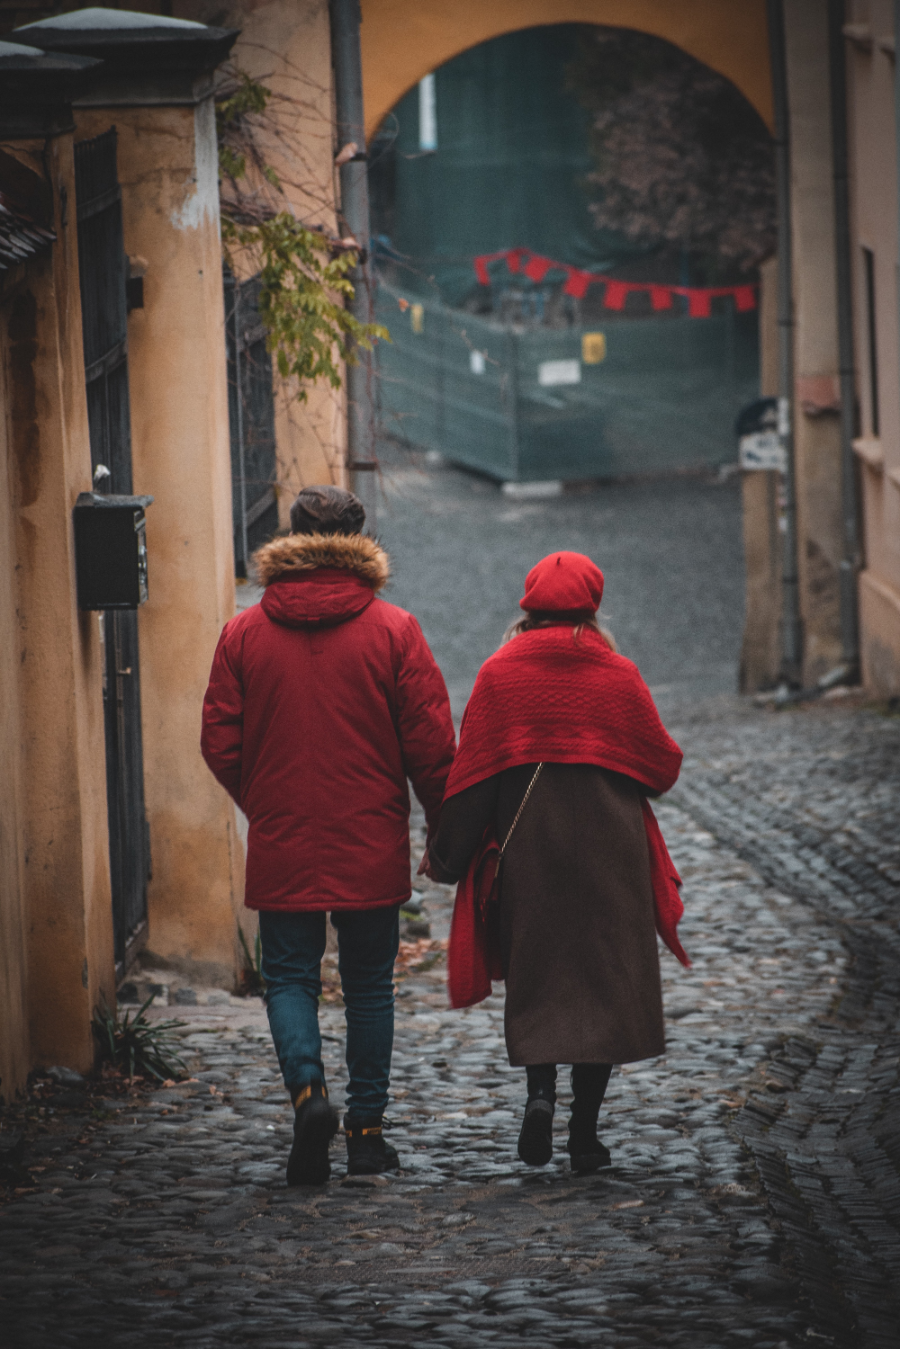
读取图像并将其转换为HSV格式。 设置要过滤的红色HSV的下界和上界。查找颜色的HSV颜色空间值的一种方法是运行以下代码片段。
img = np.uint8([[[0,0,255]]])
hsv = cv.cvtColor(img, cv.COLOR_BGR2HSV)
print(hsv)
[[0 255 255]]
pixel = img[3124, 2342]
hsv = cv.cvtColor(img, cv.COLOR_BGR2HSV)
print(hsv)
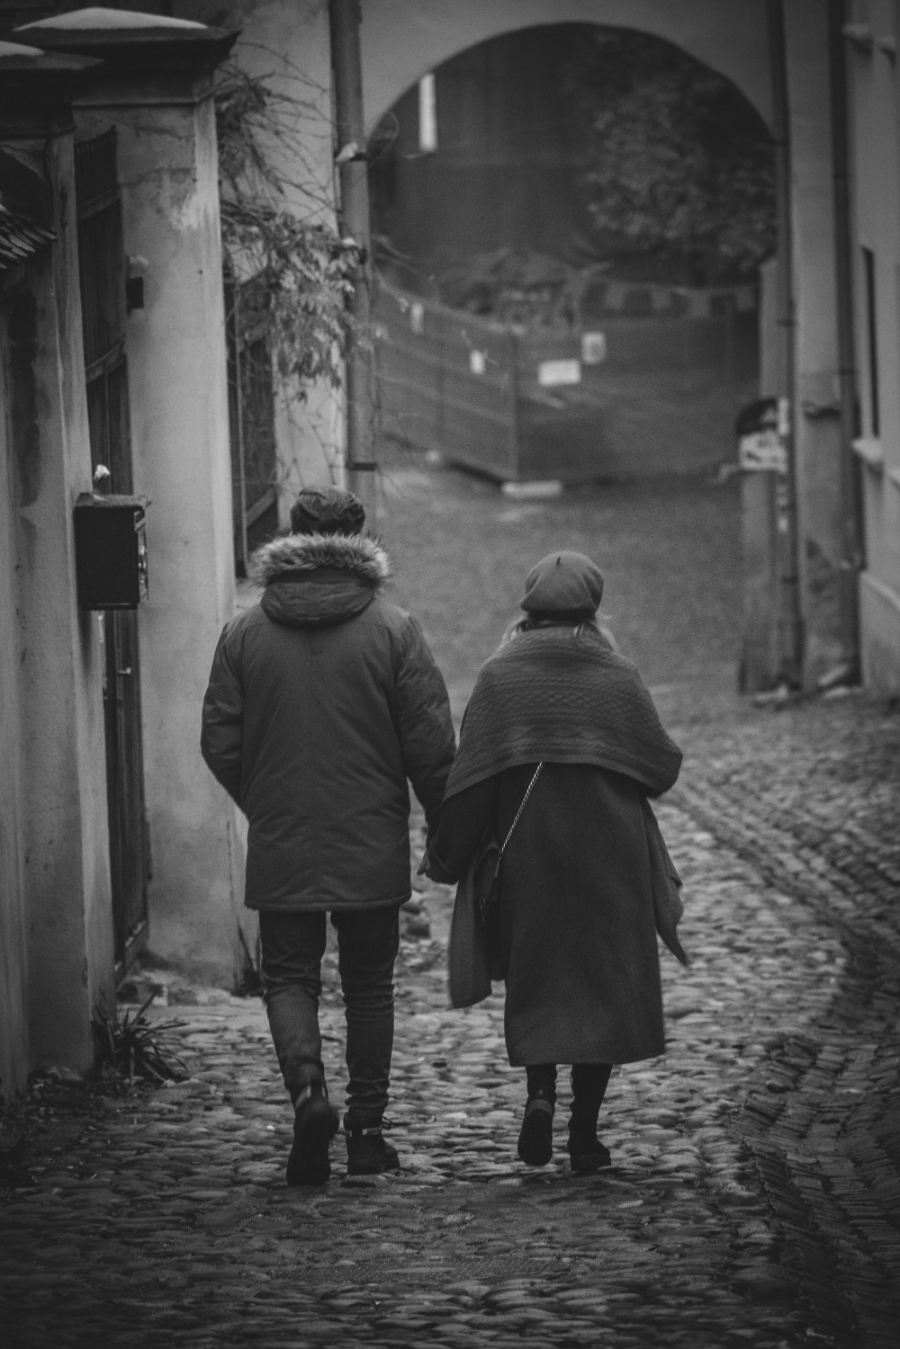
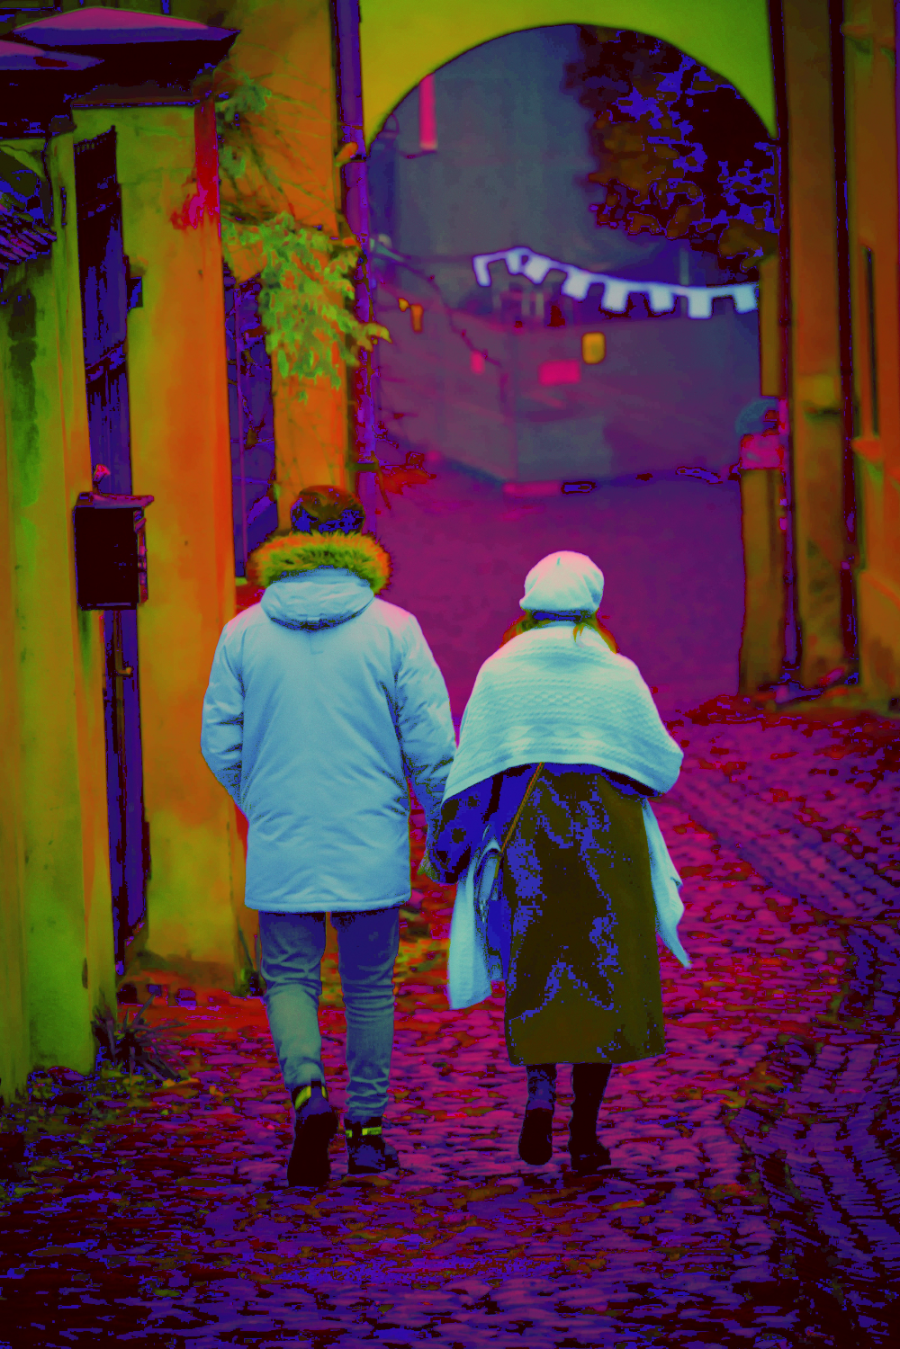
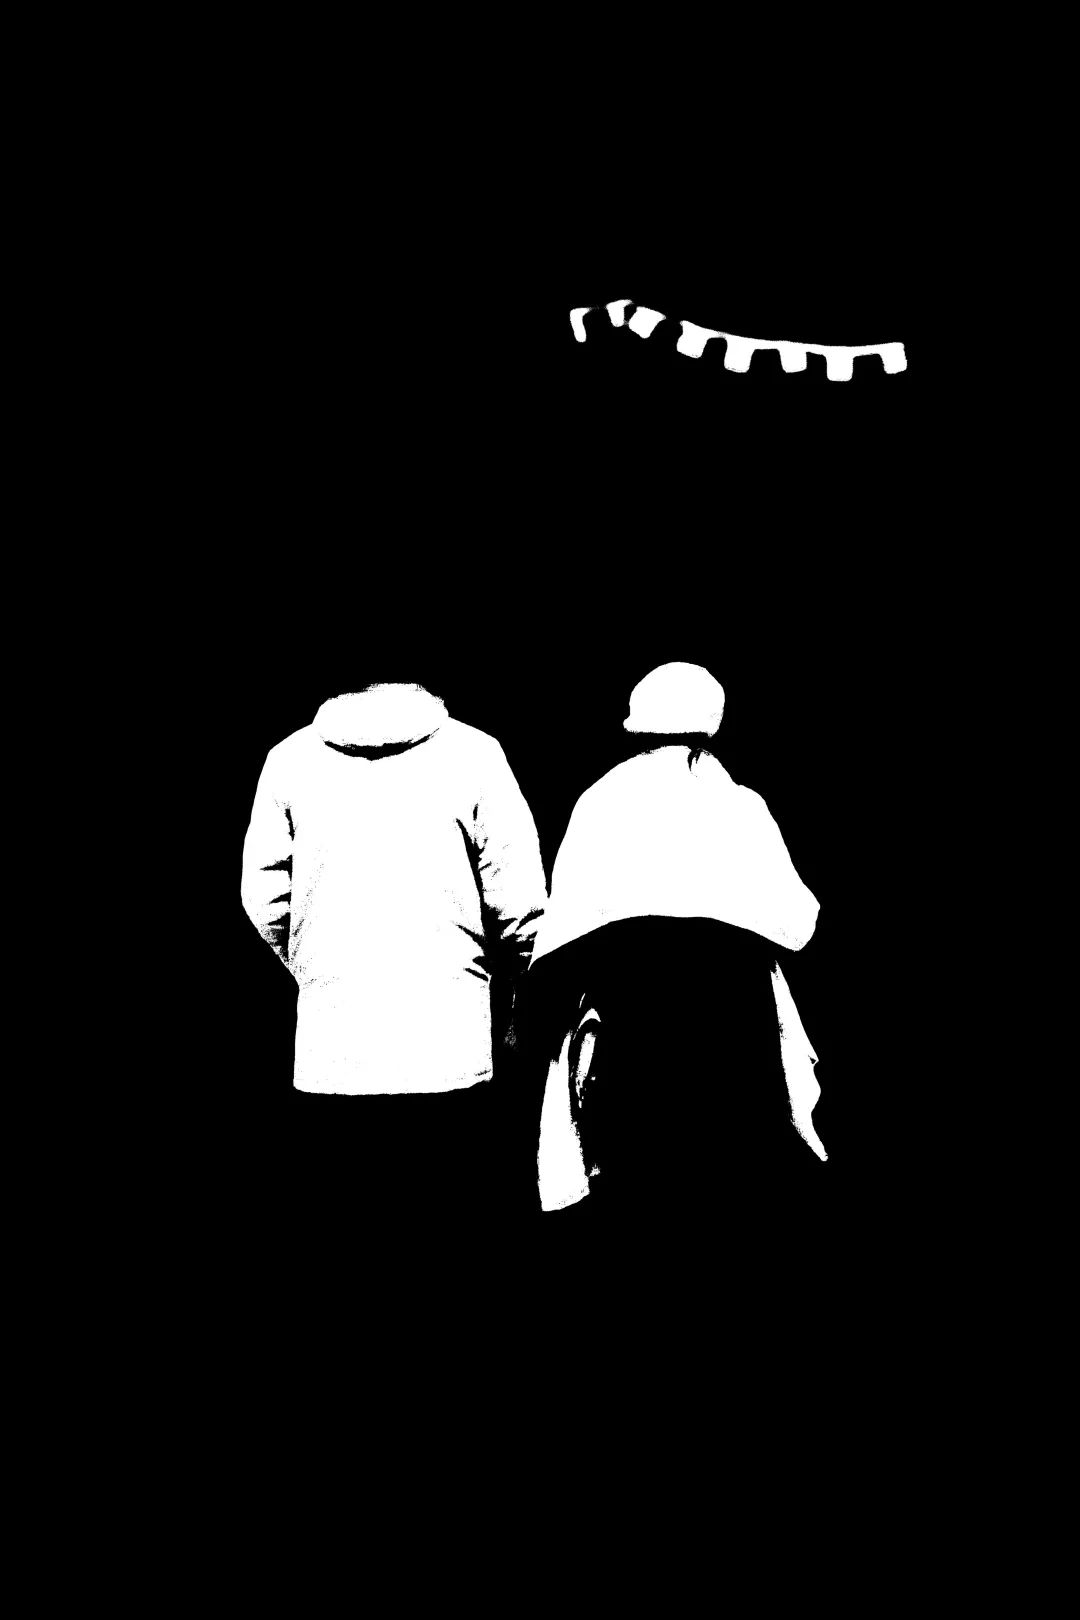
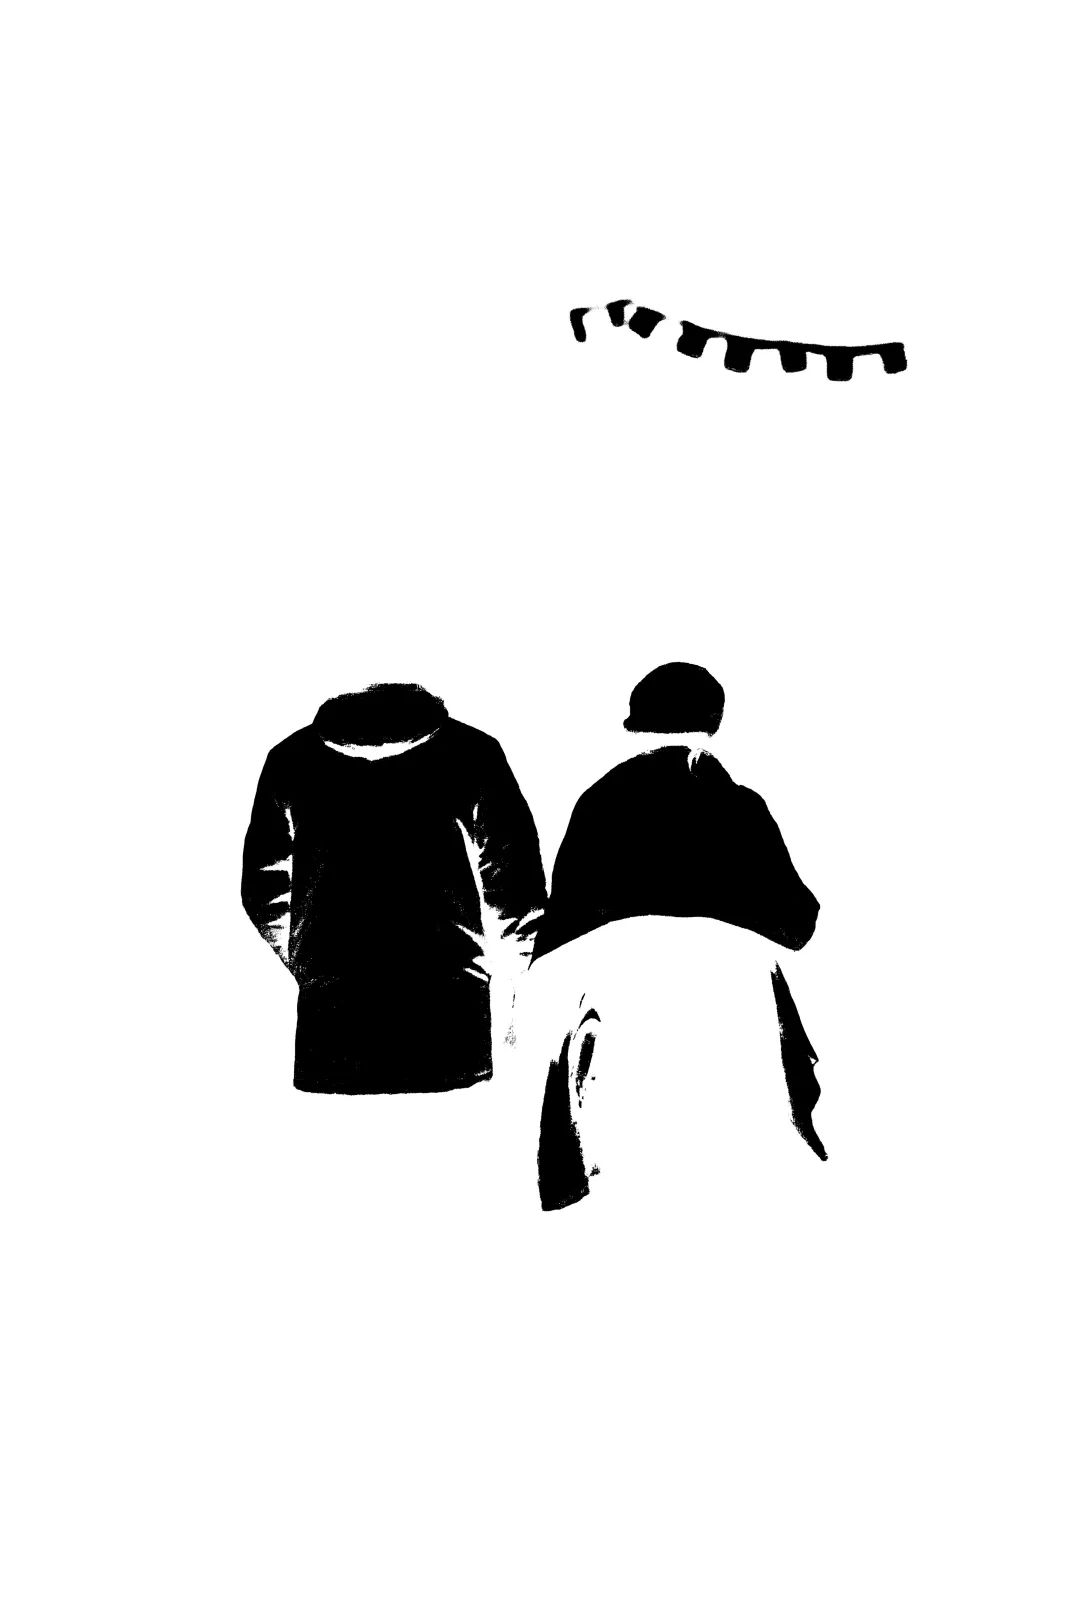
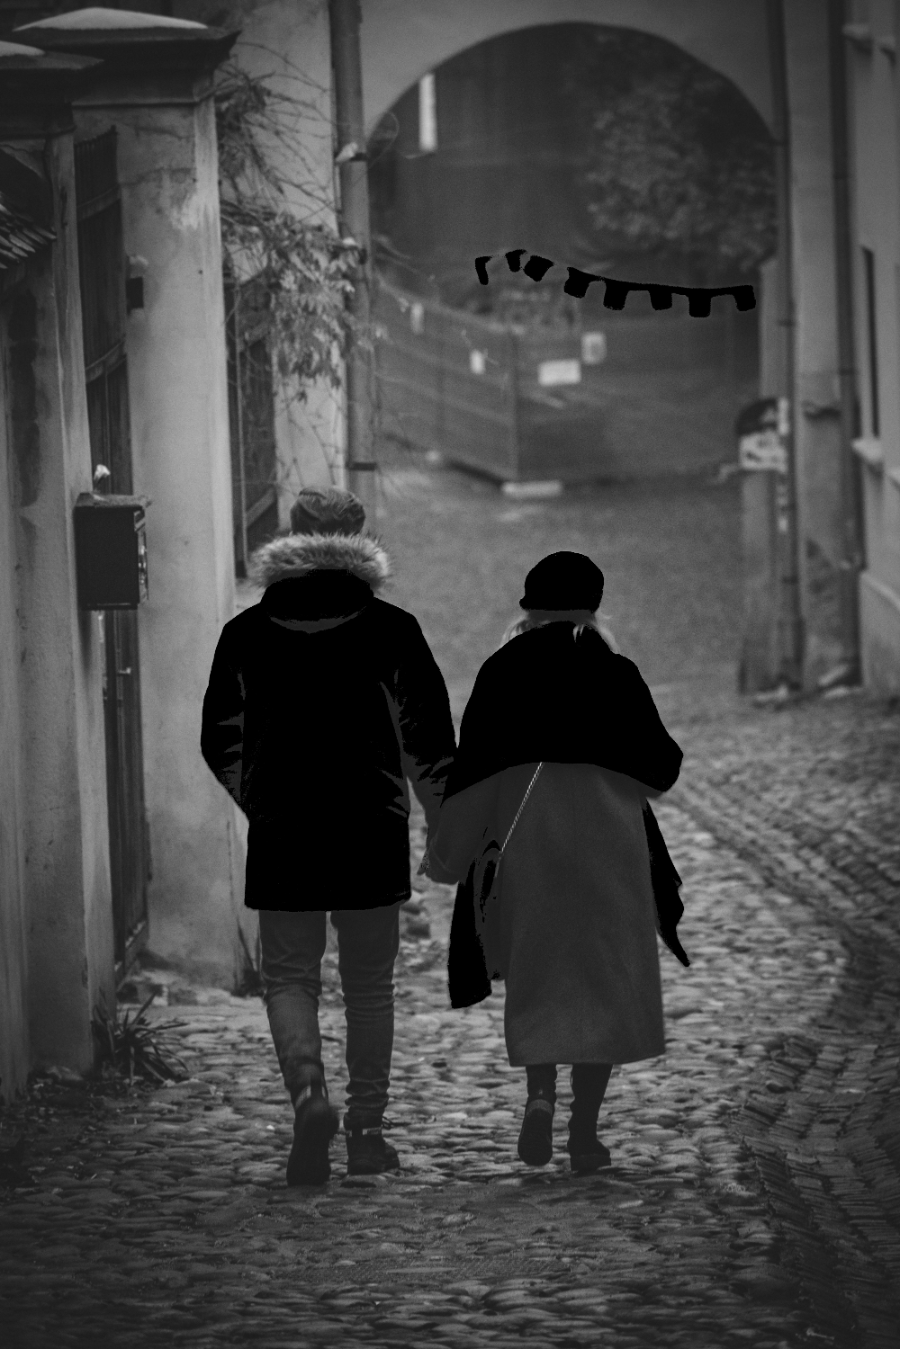
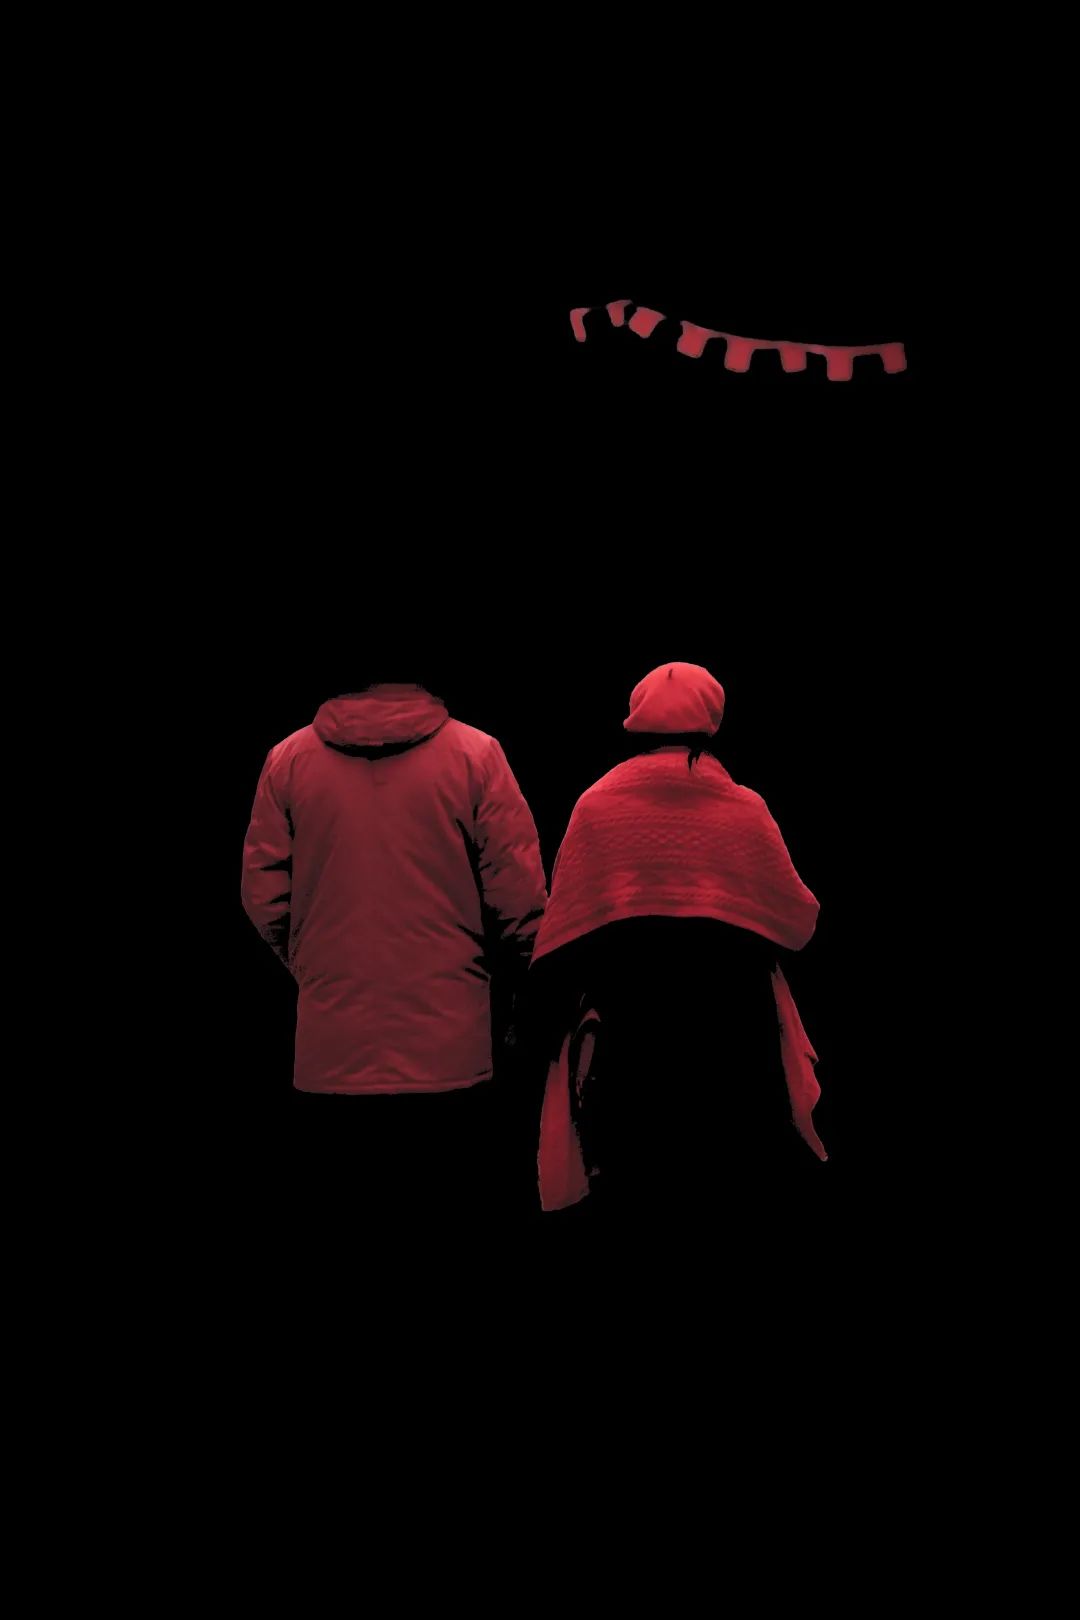
使用OpenCV的inRange函数为红色色调创建一个遮罩。 使用遮罩上的bitwise_not操作创建遮罩的逆遮罩。 使用遮罩(前景)只过滤原始图像的红色部分。 使用cv.cvtColor函数获取原始图像的灰度格式。 现在使用遮罩的反面从灰度图像(背景)中只过滤原始图像中包含红色以外的颜色的区域。 在将背景添加到前景之前,必须使用numpy.stack()函数将只有一个通道的灰度背景图像转换为三个通道的灰度图像。这一步应该做,因为OpenCV的add函数只有在要添加的图像的形状相同时才能工作。 添加前景和背景以得到最终的图像,只有红色从灰度背景中突出。
#import the libraries
import cv2 as cv
import numpy as np

#read the image
img = cv.imread("D://medium_blogs//red_coat.jpg")
#convert the BGR image to HSV colour space
hsv = cv.cvtColor(img, cv.COLOR_BGR2HSV)
#obtain the grayscale image of the original image
gray = cv.cvtColor(img, cv.COLOR_BGR2GRAY)

#set the bounds for the red hue
lower_red = np.array([160,100,50])
upper_red = np.array([180,255,255])

#create a mask using the bounds set
mask = cv.inRange(hsv, lower_red, upper_red)
#create an inverse of the mask
mask_inv = cv.bitwise_not(mask)
#Filter only the red colour from the original image using the mask(foreground)
res = cv.bitwise_and(img, img, mask=mask)
#Filter the regions containing colours other than red from the grayscale image(background)
background = cv.bitwise_and(gray, gray, mask = mask_inv)
#convert the one channelled grayscale background to a three channelled image
background = np.stack((background,)*3, axis=-1)
#add the foreground and the background
added_img = cv.add(res, background)

#create resizable windows for the images
cv.namedWindow("res", cv.WINDOW_NORMAL)
cv.namedWindow("hsv", cv.WINDOW_NORMAL)
cv.namedWindow("mask", cv.WINDOW_NORMAL)
cv.namedWindow("added", cv.WINDOW_NORMAL)
cv.namedWindow("back", cv.WINDOW_NORMAL)
cv.namedWindow("mask_inv", cv.WINDOW_NORMAL)
cv.namedWindow("gray", cv.WINDOW_NORMAL)

#display the images
cv.imshow("back", background)
cv.imshow("mask_inv", mask_inv)
cv.imshow("added",added_img)
cv.imshow("mask", mask)
cv.imshow("gray", gray)
cv.imshow("hsv", hsv)
cv.imshow("res", res)

if cv.waitKey(0):
    cv.destroyAllWindows()
双一流高校研究生团队创建 ↓
专注于计算机视觉原创并分享相关知识 ☞
整理不易,点赞三连!
评论
