基于 TDD 模式编写 Vue 评论组件(上):数据绑定和列表渲染
上篇教程学院君给大家演示了 Vue 组件测试套件(Vue Test Utils + Mocha + jsdom + Expect)的引入和基本使用,今天,我们结合这套组件通过测试驱动开发(Test-Driven Development,简称 TDD)模式来编写一个 Vue 单文件组件。
前面在组件实战中我们已经基于 Laravel + Vue 组件开发出了一个简单的博客应用,但是这个博客缺乏与读者之间的交流和互动,我们可以给它加上评论功能来弥补这个不足:
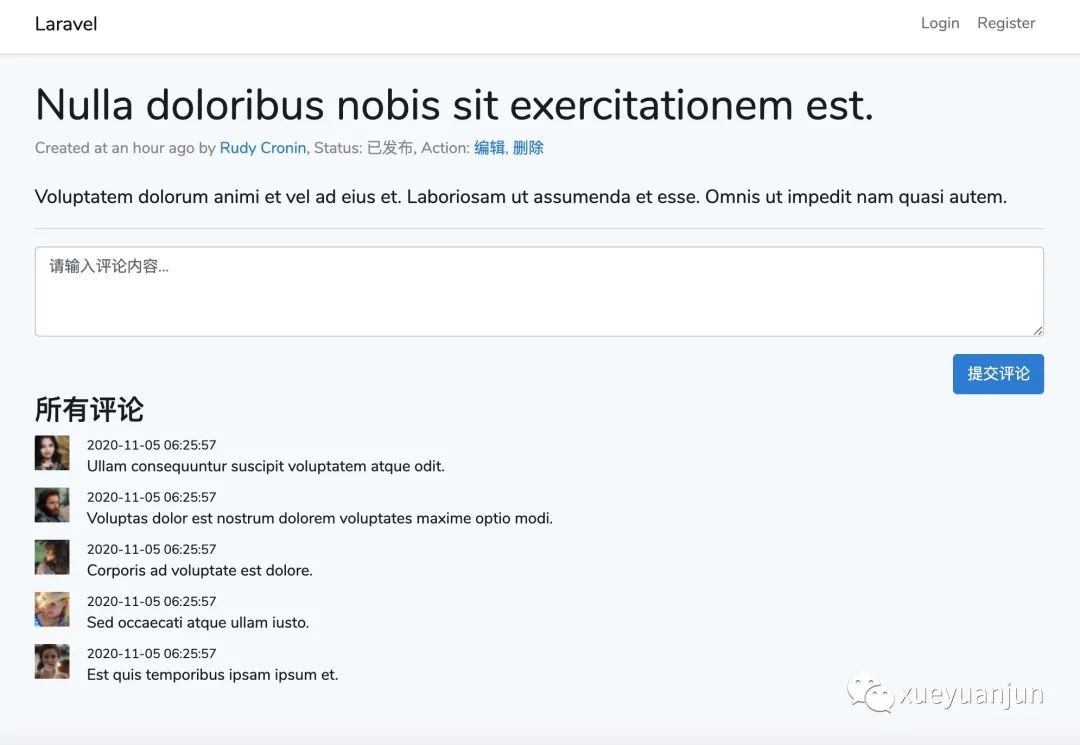
下面我们基于 TDD 模式来开发这个评论组件。
第一步:创建组件和表单控件
所谓测试驱动开发就是根据需求先编写不同场景的测试用例,然后再编写可以通过这些测试用例的代码,最终交付出一个质量可靠的系统。这个开发过程通过测试推动,这是一种敏捷开发模式。
以本功能为例,我们先在 tests/JavaScript 目录下新建一个 comment.spec.js 文件用于测试评论组件,然后编写该组件的第一个测试用例代码如下:
import { mount} from "@vue/test-utils";
import CommentComponent from '../../resources/js/components/CommentComponent.vue';

describe('CommentComponent.vue', () => {
    it('include comment form with textarea and placeholder', function () {
        let wrapper = mount(CommentComponent);

        expect(wrapper.find('form').exists()).toBe(true);
        expect(wrapper.find('textarea').exists()).toBe(true);
        expect(wrapper.find('textarea').attributes('placeholder')).toMatch('请输入评论内容...');
    });
});
此时运行 npm run test 会测试失败:

提示没有 CommentComponent 组件,我们在 resources/js/components 目录下创建这个 Vue 组件,并添加一个包含文本框的表单元素:
<style scoped>

</style>

<template>
    <form>
        <div class="form-group">
            <textarea class="form-control" name="content" rows="3" placeholder="请输入评论内容..."></textarea>
        </div>
    </form>
</template>

<script>
export default {}
</script>
再次运行测试,就可以看到第一个测试用例通过了:
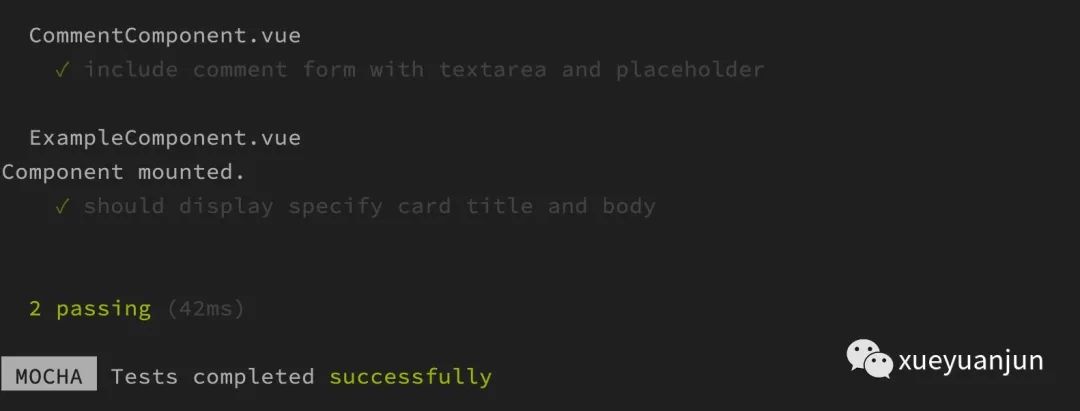
自动运行测试
当然,每次修改测试用例代码后都要手动运行 npm run test 很麻烦,我们可以在 package.json 中配置一个 watch-test 命令,每次前端代码调整后自动运行 npm run test:
"scripts": {
    ...
    "test": "cross-env NODE_ENV=development mochapack --webpack-config webpack.config.js --require tests/JavaScript/setup.js tests/JavaScript/**/*.spec.js",
    "watch-test": "npm run test -- --watch"
},
在终端执行 npm run watch-test 开启自动运行测试。
第二步:表单提交按钮
我们接下来在 comment.spec.js 中编写第二个测试用例 —— 为表单添加一个提交按钮:
describe('CommentComponent.vue', () => {
    ...

    it('include submit btn', function () {
        let wrapper = mount(CommentComponent);

        expect(wrapper.find('button[type=submit]').exists()).toBe(true);
        expect(wrapper.find('button[type=submit]').text()).toMatch('提交评论');
    });
});
现在可以在终端窗口中看到测试已经自动运行了,当然,现在测试是不同过的:
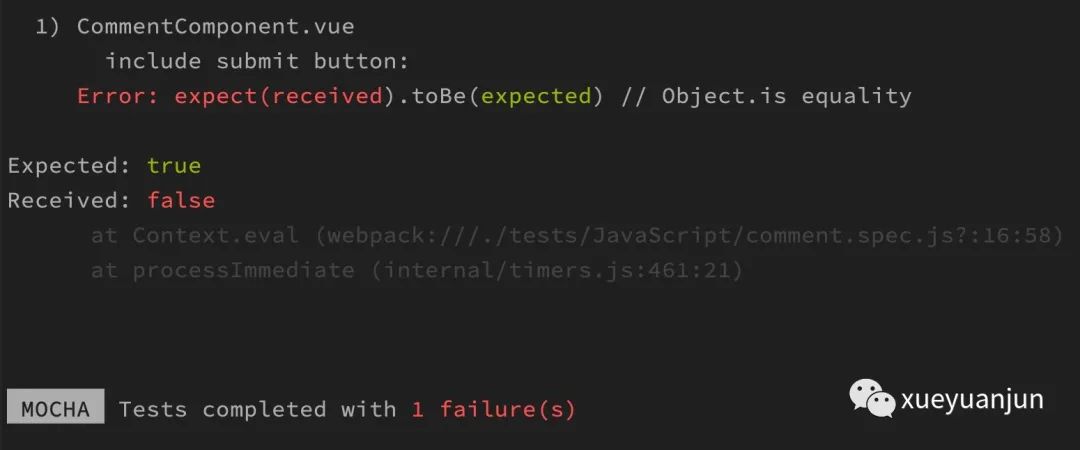
因为 CommentComponent 组件还没有包含提交按钮,我们编辑这个组件文件添加提交按钮:
<template>
    <form>
        <div class="form-group">
            <textarea class="form-control" name="content" rows="3" placeholder="请输入评论内容..."></textarea>
        </div>
        <div class="text-right">
            <button type="submit" class="btn btn-primary">提交评论</button>
        </div>
    </form>
</template>
自动测试运行通过:
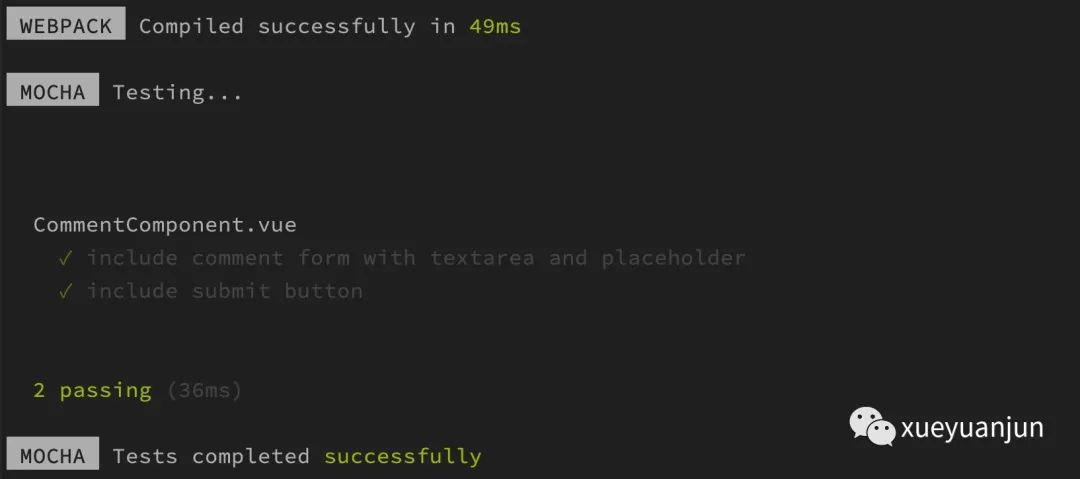
这样我们就已经完成了评论功能表单模板代码的编写。
重构测试用例
同一个组件的测试用例代码通常都在同一个文件中,每次编写一个新的测试用例都要重复挂载组件很低效,我们可以像在 PHPUnit 测试类中定义 setUp 方法那样,在同一个组件的测试用例组中定义一个 beforeEach 方法,该方法会在 CommentComponent 组件每个测试用例运行之前执行,我们可以将该组件的挂载工作放到这个方法中实现,这样一来,我们就可以直接在每个测试用例中通过 wrapper 变量来引用挂载实例了:
describe('CommentComponent.vue', () => {
    let wrapper;

    beforeEach(() => {
        wrapper = mount(CommentComponent);
    })

    it('include comment form with textarea and placeholder', function () {
        expect(wrapper.find('form').exists()).toBe(true);
        expect(wrapper.find('textarea').exists()).toBe(true);
        expect(wrapper.find('textarea').attributes('placeholder')).toMatch('请输入评论内容...');
    })

    it('include submit button', function () {
        expect(wrapper.find('button[type=submit]').exists()).toBe(true);
        expect(wrapper.find('button[type=submit]').text()).toMatch('提交评论');
    })
});
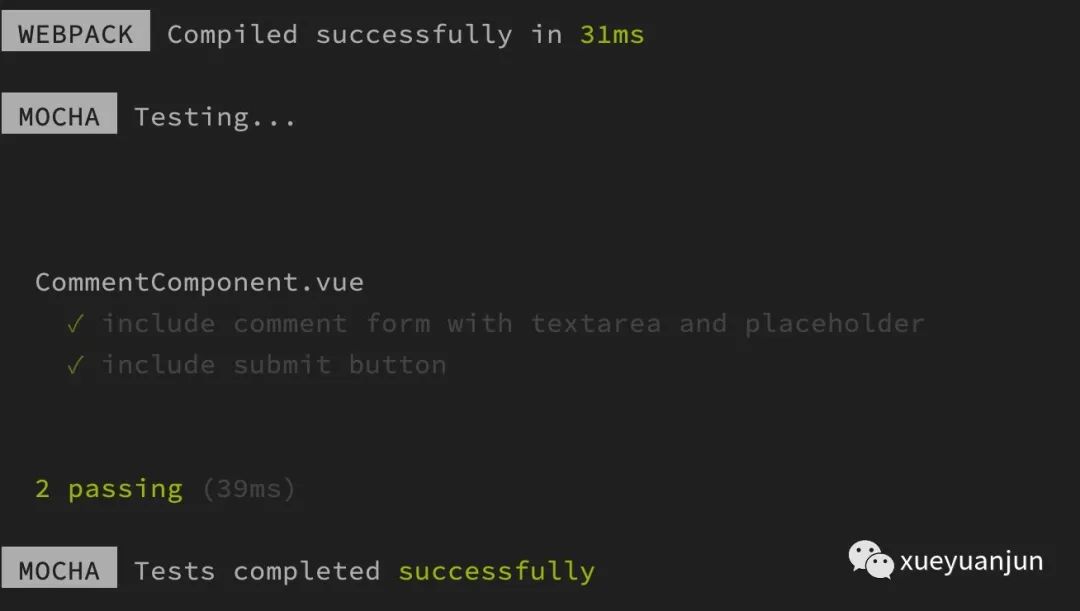
代码瞬间干净了许多。修改完成会自动运行回归测试,测试通过,表明此时重构没有引入bug:
第三步:输入评论内容与数据绑定
现在已经具备完整的表单控件了,是时候填写表单并提交了。在 comment.spec.js 中编写第三个测试用例 —— 输入评论内容,并将其与 Vue 模型属性建立数据绑定,以便执行后续操作:
it('typed comment will sync with model data ', function () {
    // Given
    let comment = '大家好,我是学院君。';
    wrapper.find('textarea[name=content]').element.value = comment;

    // When
    wrapper.find('textarea[name=content]').trigger('input');

    // Then
    expect(wrapper.vm.comment).toBe(comment);
});
这个时候,我们就可以编写纯正 BDD 风格的测试用例了:
Given:初始化资源 —— 输入评论内容;
When:触发 textarea 元素的
input事件;Then:断言 Vue 模型属性
comment是否和输入的评论内容一致。
注:相关的 Wrapper 语法明细可以参考 Vue 测试套件官方文档了解。
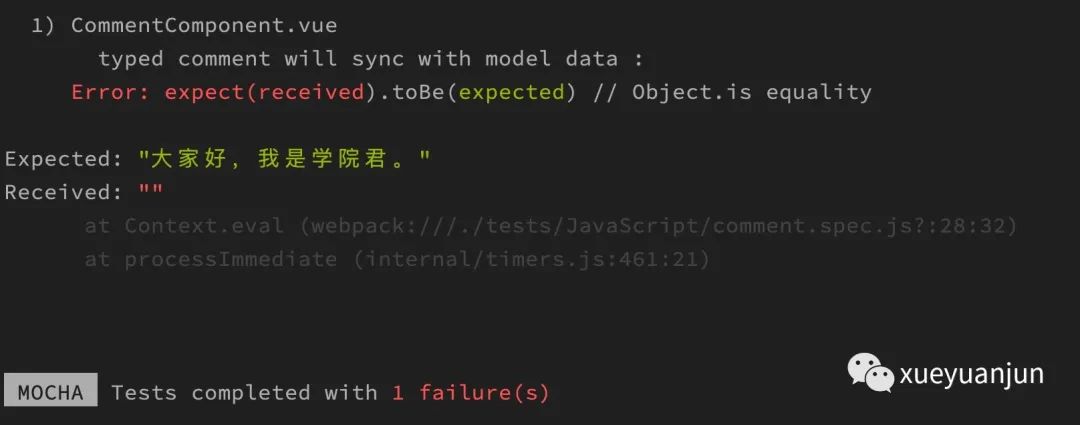
这个时候测试用例不通过,因为现在还没有定义 comment 模型属性,textarea 表单输入控件也没有与之建立对应的数据绑定:
打开 CommentComponent 组件,编写对应的实现代码如下:
<template>
    <form>
        <div class="form-group">
            <textarea v-model="comment" class="form-control" name="content" rows="3" placeholder="请输入评论内容..."></textarea>
        </div>
        <div class="text-right">
            <button type="submit" class="btn btn-primary">提交评论</button>
        </div>
    </form>
</template>

<script>
export default {
    data() {
        return {
            comment: '',
            comments: []
        }
    }
}
</script>
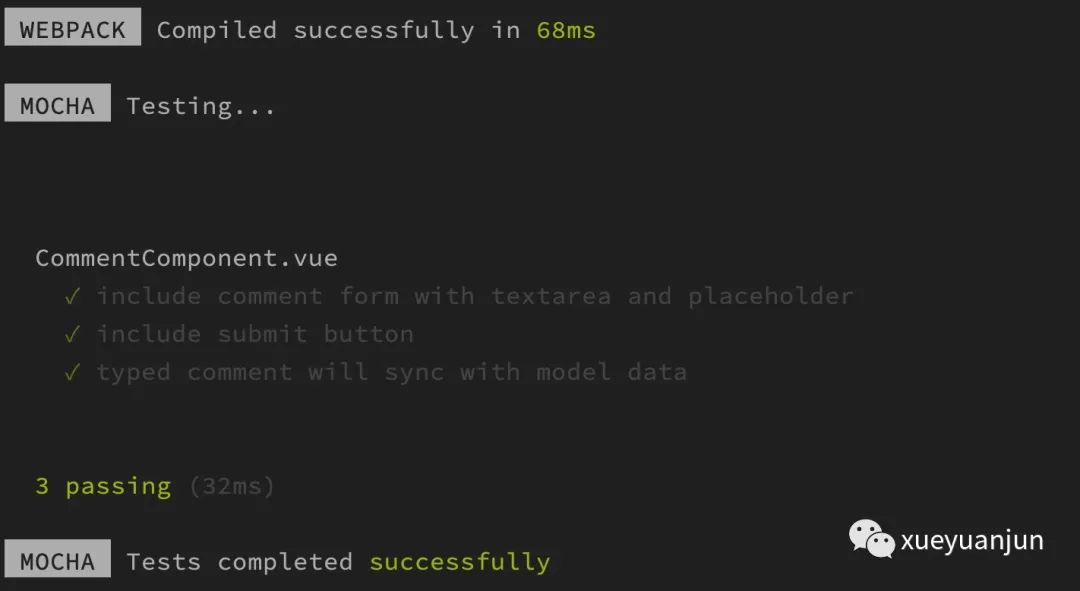
第三个测试用例运行通过:
第四步:提交评论并进行列表渲染
编写好评论内容之后还要提交才能保存和渲染,我们在 comment.spec.js 中编写第四个测试用例来测试这个业务场景,这一步是目前最复杂的:
it('click submit button will render comment in comments list', function () {
    // Given
    expect(wrapper.find('ul.comments').isVisible()).toBe(false);
    let comment = '大家好,我是学院君。';
    wrapper.find('textarea[name=content]').element.value = comment;
    wrapper.find('textarea[name=content]').trigger('input');

    // When
    wrapper.find('button[type=submit]').trigger('submit');

    // Then
    expect(wrapper.vm.comments.length).toBe(1);
    expect(wrapper.vm.comments[0]).toBe(comment);
    wrapper.vm.$nextTick(() => {
        // 需要将这两个断言放到 Vue.nextTick 中执行,因为它们需要在 DOM 刷新之后才会生效
        expect(wrapper.find('ul.comments').isVisible()).toBe(true);
        expect(wrapper.find('ul.comments').html()).toContain(comment);
    })
});
我们还是通过 Given-When-Then 三步进行拆分:
Given:开始的时候评论列表为空,我们通过 textarea 表单元素编写评论内容;
When:编写好了之后点击提交按钮,触发
submit事件;Then:提交之后会触发监听
submit事件的函数,更新组件模型属性,将当前评论内容插入到评论列表,并清空评论框,然后在 Vue.nextTick 回调中断言评论列表是否出现并包含刚刚提交的内容。
这里为什么要在 Vue.nextTick(wrapper.vm 对应的就是 Vue 实例) 闭包中执行断言代码呢,马上会揭晓。
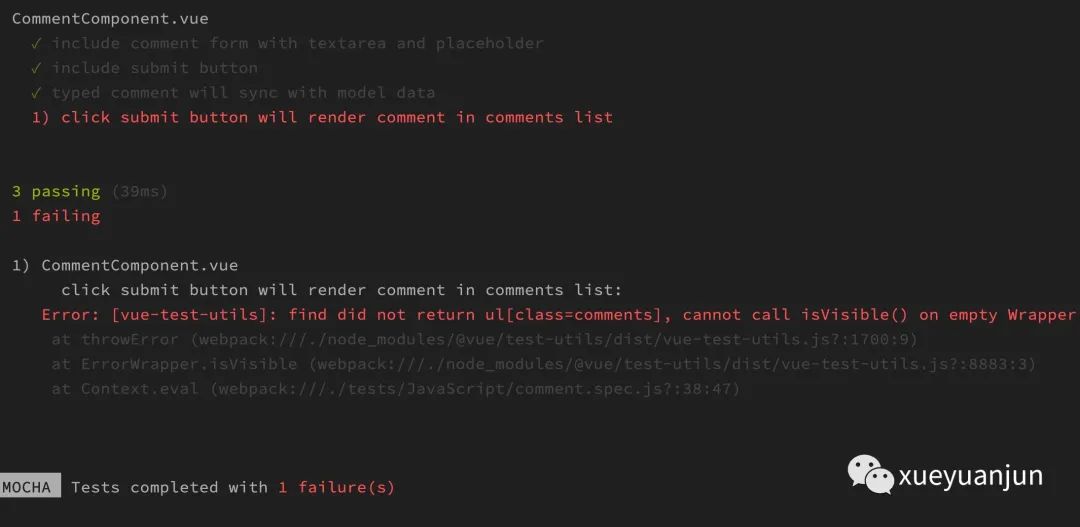
由于评论组件还没有实现对应的业务代码,所以此时测试用例不通过:
打开评论组件 CommentComponent.vue,添加评论渲染列表、submit 事件函数等业务代码如下:
<style scoped>

</style>

<template>
    <div>
        <form @submit.prevent="addNewComment">
            <div class="form-group">
                <textarea v-model="comment" class="form-control" name="content" rows="3" placeholder="请输入评论内容..."></textarea>
            </div>
            <div class="text-right">
                <button type="submit" class="btn btn-primary">提交评论</button>
            </div>
        </form>
        <h3>所有评论</h3>
        <ul class="comments" v-show="comments.length > 0">
            <li v-for="(content, index) in comments" :key="index" v-text="content"></li>
        </ul>
    </div>
</template>

<script>
export default {
    data() {
        return {
            comment: '',
            comments: []
        }
    },
    methods: {
        addNewComment() {
            this.comments.push(this.comment);
            this.comment = '';
        }
    }
}
</script>
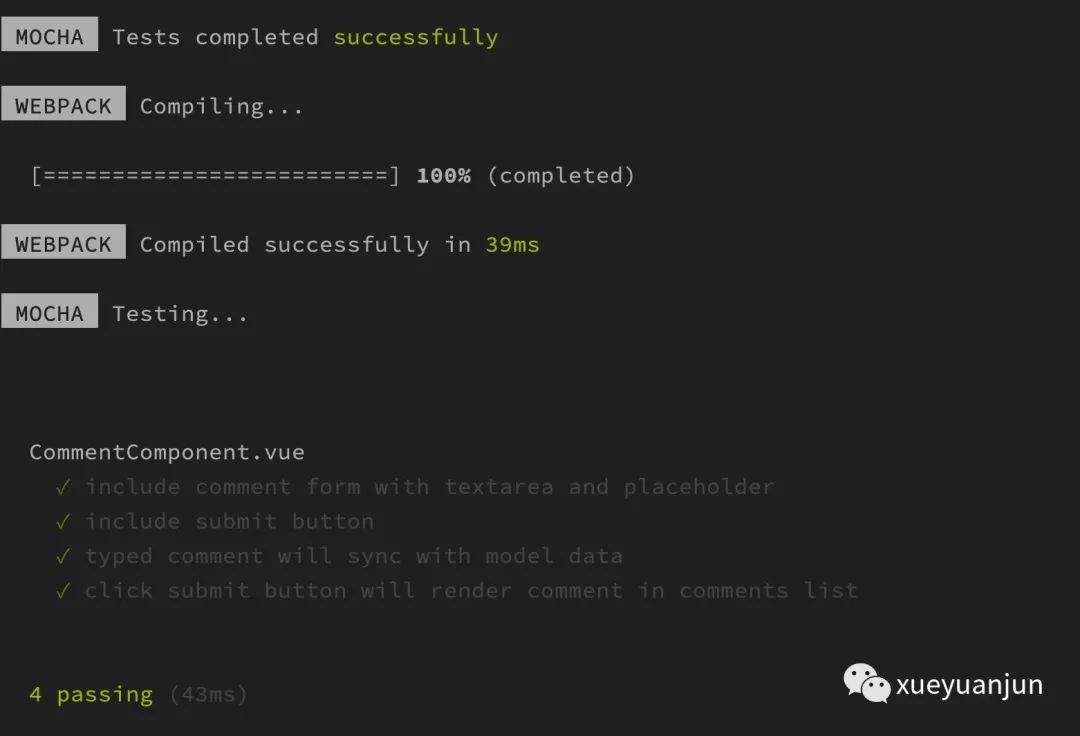
测试用例运行通过,表明业务代码可以正常工作:
Vue.nextTick 回调
这里,我们来简单说说为什么要在 Vue.nextTick 回调函数中执行评论列表渲染相关的断言,这是因为 Vue 组件中,并不是模型数据一变更,页面 DOM 就跟着更新渲染,底层有自己的更新策略,而 Vue.nextTick 的作用就是在下次 DOM 更新结束之后执行延迟回调,也就是我们上面编写的断言代码,这样一来,就可以保证在 DOM 更新之后断言评论列表,否则就会出现列表未更新,测试用例运行不通过的状况。
小结
至此,我们已经初步完成单文件评论组件的前端业务功能,接下来,我们需要将其嵌入到文章详情页中,并调用后端接口存储评论数据,那么父子组件之前的通信(props、emit)以及前后端接口调用该如何编写测试用例呢?学院君将在下篇教程给大家揭晓。
本系列教程首发在Laravel学院(laravelacademy.org),你可以点击页面左下角阅读原文链接查看最新更新的教程。
