牛逼!像使用Activity一样使用Fragment
BAT作者:fundroid_方卓
https://blog.csdn.net/vitaviva
前言
– Jake Wharton @Droidcon NYC 2017
https://github.com/vitaviva/fragivity
https://github.com/YoKeyword/Fragmentation
Use Fragment Like Activity
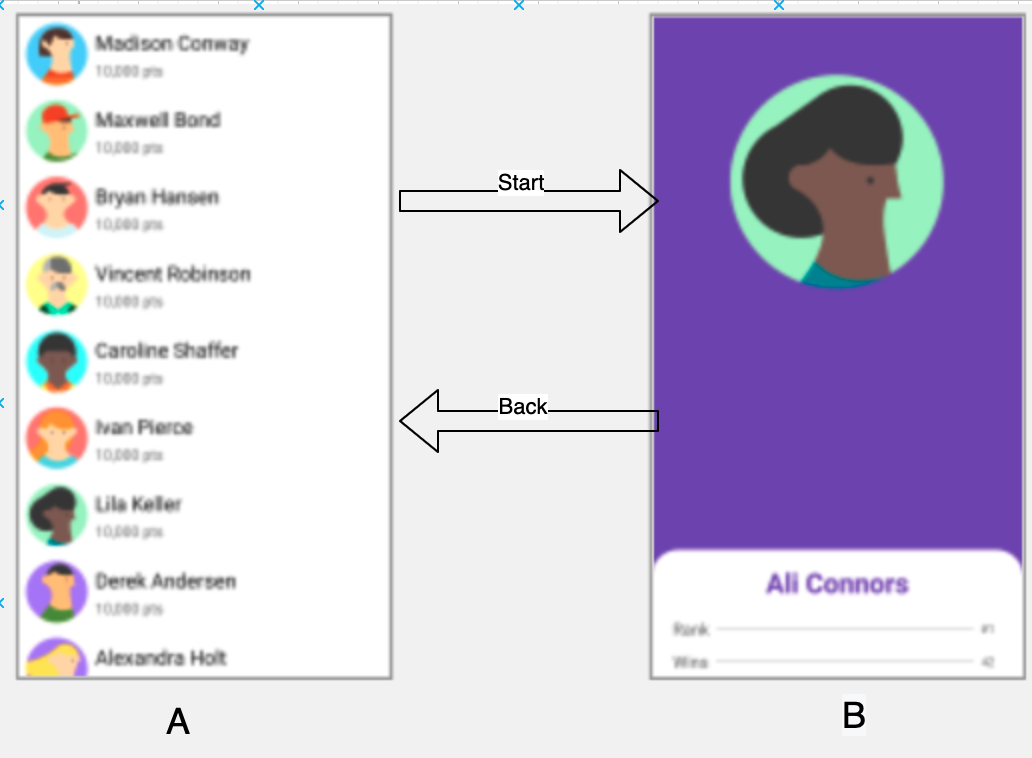
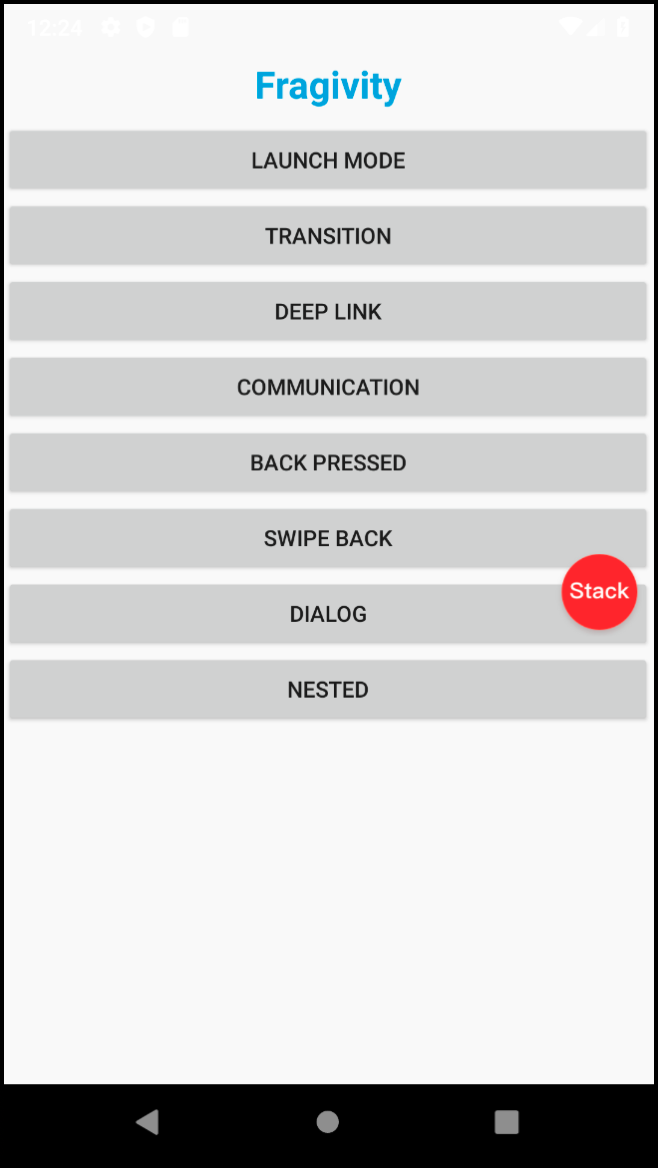
生命周期与Activity行为一致 支持多种LaunchMode 支持OnBackPressed事件处理、支持SwipeBack 支持Transition、SharedElement等转场动画 支持以Dialog样式显示 支持Deep Links
基本使用
gradle依赖
implementation 'com.github.fragivity:core:$latest_version'
声明NavHostFragment
<FrameLayout xmlns:android="http://schemas.android.com/apk/res/android"
    android:id="@+id/container"
    android:layout_width="match_parent"
    android:layout_height="match_parent"
    xmlns:app="http://schemas.android.com/apk/res-auto"
    android:fitsSystemWindows="true">

    <androidx.fragment.app.FragmentContainerView
        android:id="@+id/nav_host"
        android:name="androidx.navigation.fragment.NavHostFragment"
        android:layout_width="match_parent"
        android:layout_height="match_parent"
        app:defaultNavHost="true" />
</FrameLayout>
class MainActivity : AppCompatActivity() {

    override fun onCreate(savedInstanceState: Bundle?) {
        super.onCreate(savedInstanceState)
        setContentView(R.layout.activity_main)

        val navHostFragment = supportFragmentManager
            .findFragmentById(R.id.nav_host) as NavHostFragment

        navHostFragment.loadRoot(HomeFragment::class)

    }
}
页面跳转
//跳转到目标Fragment
navigator.push(DestinationFragment::class)

//携带参数跳转
val bundle = bundleOf(KEY_ARGUMENT to "some args")
navigator.push(DestinationFragment::class, bundle)
页面返回
//返回上一页面
navigator.pop()

//返回到指定页面
navigator.popTo(HomeFramgent::class)
转场动画
navigator.push(UserProfile::class, bundle) { //this:NavOptions
    //配置动画
    enterAnim = R.anim.enter_anim
    exitAnim = R.anim.exit_anim
    popEnterAnim = R.anim.enter_anim
    popExitAnim = R.anim.exit_anim
}
//跳转时,对imageView设置SharedElement
navigator.push(UserProfile::class, bundle,
               FragmentNavigatorExtras(imageView to "imageView")) { //this:NavOptions

    enterAnim = R.anim.enter_anim
    exitAnim = R.anim.exit_anim
    popEnterAnim = R.anim.enter_anim
    popExitAnim = R.anim.exit_anim

}
class UserProfile : Fragment() {

    override fun onCreate(savedInstanceState: Bundle?) {
        super.onCreate(savedInstanceState)
        //目标Fragment中设置共享元素动画
        sharedElementEnterTransition = TransitionInflater.from(context).inflateTransition(android.R.transition.move)
    }

}
无需配置实现页面跳转
<navigation
    xmlns:android="http://schemas.android.com/apk/res/android"
    xmlns:app="http://schemas.android.com/apk/res-auto"
    xmlns:tools="http://schemas.android.com/tools"
    app:startDestination="@+id/first">

    <fragment
        android:id="@+id/fragment_first"
        android:name=".FirstFagment"
        android:label="@string/tag_first">
        <action
            android:id="@+id/action_to_second"
            app:destination="@id/fragment_second"/>
    </fragment>
    <fragment
        android:id="@+id/fragment_second"
        android:name=".SecondFragment"
        android:label="@string/tag_second"/>
</navigation>
动态创建Graph
fun NavHostFragment.loadRoot(root: KClass<out Fragment>) {

    navController.apply {
        //添加Navigator
        navigatorProvider.addNavigator(
            FragivityNavigator(
                context,
                childFragmentManager,
                id
            )
        )

        //创建Graph
        graph = createGraph(startDestination = startDestId) {
            val startDestId = root.hashCode()
            //添加startDestination
            destination(
                FragmentNavigatorDestinationBuilder(
                    provider[FragivityNavigator::class],
                    startDestId,
                    root
                ))
        }
    }
}
动态添加Destination
fun NavHost.push(
    clazz: KClass<out Fragment>,
    args: Bundle? = null,
    extras: Navigator.Extras? = null,
    optionsBuilder: NavOptions.() -> Unit = {}
) = with(navController) {
    // 动态创建Destination
    val node = putFragment(clazz)
    // 调用NavController的navigate方法进行跳转
    navigate(
        node.id, args,
        convertNavOptions(clazz, NavOptions().apply(optionsBuilder)),
        extras
    )
}

// 创建并添加Destination
private fun NavController.putFragment(clazz: KClass<out Fragment>): FragmentNavigator.Destination {
    val destId = clazz.hashCode()
    lateinit var destination: FragmentNavigator.Destination
    if (graph.findNode(destId) == null) {
        destination = (FragmentNavigatorDestinationBuilder(
            navigatorProvider[FragivityNavigator::class],
            destId,
            clazz
        )).build()
        graph.plusAssign(destination)// 添加进Graph
    } else {
        destination = graph.findNode(destId) as FragmentNavigator.Destination
    }
    return destination
}
BackStack及生命周期

ActivityA:onStart -> onResume | |
FragmentA : no change | |
FragmentA: onCreateView -> onStart -> onResume |
目标1:回退时,FragmentB不重新onCreateView (add方式满足) 目标2:回退时,FragmentB会触发onStart -> onResume (replace方式满足) 目标3:后台的Fragment不跟随父生命周期发生变化 (replace方式满足)
重写FragmentNavigator
@Navigator.Name("fragment")
public class FragmentNavigator extends Navigator<FragmentNavigator.Destination> {

    @Override
    public NavDestination navigate(@NonNull Destination destination, @Nullable Bundle args,
            @Nullable NavOptions navOptions, @Nullable Navigator.Extras navigatorExtras) {

        String className = destination.getClassName();

        //实例化Fragment
        final Fragment frag = instantiateFragment(mContext, mFragmentManager,
        className, args);
        frag.setArguments(args);

        final FragmentTransaction ft = mFragmentManager.beginTransaction();
        ft.replace(mContainerId, frag); // replace方式添加Fragment
        ft.setPrimaryNavigationFragment(frag);

        //事务压栈
        ft.addToBackStack(generateBackStackName(mBackStack.size() + 1, destId));

        ft.setReorderingAllowed(true);
        ft.commit();

    }

}
public class FragivityNavigator extends FragmentNavigator {
    @Override
    public NavDestination navigate(@NonNull Destination destination, @Nullable Bundle args,
            @Nullable NavOptions navOptions, @Nullable Navigator.Extras navigatorExtras) {

        final Fragment frag = instantiateFragment(mContext, mFragmentManager,
        className, args);
        //ft.replace(mContainerId, frag); // replace改为add
        ft.add(mContainerId, frag, generateBackStackName(mBackStack.size(), destination.getId()));

    }
}
添加OnBackStackChangedListener
private final FragmentManager.OnBackStackChangedListener mOnBackStackChangedListener =
        new FragmentManager.OnBackStackChangedListener() {

            @Override
            public void onBackStackChanged() {
                if (mIsPendingAddToBackStackOperation) {
                    mIsPendingAddToBackStackOperation = !isBackStackEqual();

                    if (mFragmentManager.getFragments().size() > 1) {
                        // 切到后台时的生命周期
                        Fragment fragment = mFragmentManager.getFragments().get(mFragmentManager.getFragments().size() - 2);
                        if (fragment instanceof ReportFragment) {
                            fragment.performPause();
                            fragment.performStop();
                            ((ReportFragment) fragment).setShow(false);
                        }
                    }
                } else if (mIsPendingPopBackStackOperation) {
                    mIsPendingPopBackStackOperation = !isBackStackEqual();
                    // 回到前台时的生命周期
                    Fragment fragment = mFragmentManager.getPrimaryNavigationFragment();
                    if (fragment instanceof ReportFragment) {
                        ((ReportFragment) fragment).setShow(true);
                        fragment.performStart();
                        fragment.performResume();
                    }
                }
            }
        };
ReportFragment代理
//ReportFragment
internal class ReportFragment : Fragment() {

    internal lateinit var className: String
    private val _real: Class<out Fragment> by lazy {
        Class.forName(className) as Class<out Fragment>
    }
    private val _realFragment by lazy {  _real.newInstance() }

    override fun onAttach(context: Context) {
        super.onAttach(context)
        //将目标Framgent作为child进行管理
        mChildFragmentManager.beginTransaction().apply {
            _realFragment.arguments = arguments
            add(R.id.container, _realFragment)
            commitNow()
        }
    }

}
//ReportFragmentManager
internal class ReportFragmentManager : FragmentManager() {
    //isShow:在后台时,不响应生命周期分发
    internal var isShow = true
    public override fun dispatchResume() {
        if (isShow) super.dispatchResume()
    }

    //...
}
支持Launch Mode
navigator.push(LaunchModeFragment::class, bundle) { //this: NavOptions
    launchMode = LaunchMode.STANDARD // 默认可省略
    //launchMode = LaunchMode.SINGLE_TOP
    //launchMode = LaunchMode.SINGLE_TASK
}
@Override
public NavDestination navigate(@NonNull Destination destination, @Nullable Bundle args,
            @Nullable NavOptions navOptions, @Nullable Navigator.Extras navigatorExtras) {

    final Fragment preFrag = mFragmentManager.getPrimaryNavigationFragment();

    //当以singleTop启动时
    if (isSingleTopReplacement) {
            if (mBackStack.size() > 1) {
                ft.remove(preFrag);// 删除旧实例

                //更新FragmentTransaction中的实例信息
                frag.mTag = generateBackStackName(mBackStack.size() - 1, destination.getId());
                if (mFragmentManager.mBackStack.size() > 0) {
                    List<FragmentTransaction.Op> ops =
                            mFragmentManager.mBackStack.get(mFragmentManager.mBackStack.size() - 1).mOps;
                    for (FragmentTransaction.Op op : ops) {
                        if (op.mCmd == OP_ADD && op.mFragment == preFrag) {
                            op.mFragment = frag;
                        }
                    }
                }
            }
        }
}
Fragment通信
//SourceFragment
val cb = { it : Boolean ->
    //...
}
navigator.push {
    DestinationFragment(cb)
}

//Destination
class DestinationFragment(val cb:(Boolean) -> Unit) {...}
inline fun <reified T : Fragment> NavHost.push(
    noinline optionsBuilder: NavOptions.() -> Unit = {},
    noinline block: () -> T
) {
    //...
    push(T::class, optionsBuilder)
}
支持DeepLinks
在编译期通过kapt解析注解,获取URI信息,并与Fragment相关联 在Activity的入口处拦截Intent,解析URI并跳转到相关联的Fragment
添加kapt依赖
kapt 'com.github.fragivity:processor:$latest_version'
配置URI
const val URI = "myapp://fragitiy.github.com/"

@DeepLink(uri = URI)
class DeepLinkFragment : AbsBaseFragment() {

    override fun onCreateView(
        inflater: LayoutInflater,
        container: ViewGroup?,
        savedInstanceState: Bundle?
    ): View? {
        return inflater.inflate(R.layout.fragment_deep_link, container, false)
    }
}
处理Intent
//MainActivity#onCreate
override fun onCreate(savedInstanceState: Bundle?) {
     super.onCreate(savedInstanceState)
     setContentView(R.layout.activity_main)

     val navHostFragment = supportFragmentManager
            .findFragmentById(R.id.nav_host) as NavHostFragment

     navHostFragment.handleDeepLink(intent)

}
//NavController
public void navigate(@NonNull Uri deepLink) {
    navigate(new NavDeepLinkRequest(deepLink, null, null));
}
val intent = Intent(Intent.ACTION_VIEW, Uri.parse("myapp://fragitiy.github.com/"))
startActivity(intent)
OnBackPressed事件拦截
https://developer.android.com/guide/navigation/navigation-custom-back
override fun onCreate(savedInstanceState: Bundle?) {
    super.onCreate(savedInstanceState)
    requireActivity().onBackPressedDispatcher.addCallback( this,
        object : OnBackPressedCallback(true) {
            override fun handleOnBackPressed() {
                // 拦截back键事件
            }
        })
}
back键返回与pop()返回
//NavHostFragment#onCreate
public void onCreate(@Nullable Bundle savedInstanceState) {
        //...
     mNavController = new NavHostController(context);
        mNavController.setOnBackPressedDispatcher(requireActivity().getOnBackPressedDispatcher());
        //...

}
//NavController#setOnBackPressedDispatcher
void setOnBackPressedDispatcher(@NonNull OnBackPressedDispatcher dispatcher) {
    if (mLifecycleOwner == null) {
        throw new IllegalStateException("You must call setLifecycleOwner() before calling "
                + "setOnBackPressedDispatcher()");
    }
    // Remove the callback from any previous dispatcher
    mOnBackPressedCallback.remove();
    // Then add it to the new dispatcher
    dispatcher.addCallback(mLifecycleOwner, mOnBackPressedCallback);
}
//NavController#mOnBackPressedCallback
private final OnBackPressedCallback mOnBackPressedCallback =
        new OnBackPressedCallback(false) {
    @Override
    public void handleOnBackPressed() {
        popBackStack(); // 最终回调Navigator#popBackStack
    }
};
SwipeBack
class SwipeBackFragment : Fragment() {

    override fun onCreateView(
        inflater: LayoutInflater,
        container: ViewGroup?,
        savedInstanceState: Bundle?
    ): View? {
        return inflater.inflate(R.layout.fragment_swipe_back, container, false)
    }

    override fun onViewCreated(view: View, savedInstanceState: Bundle?) {
        super.onViewCreated(view, savedInstanceState)
        swipeBackLayout.setEnableGesture(true) //一句话开启SwipeBack
    }

}
val Fragment.swipeBackLayout
    get() = (parentFragment as ReportFragment).swipeBackLayout
internal class ReportFragment : Fragment() {

    override fun onCreateView(
        inflater: LayoutInflater,
        container: ViewGroup?,
        savedInstanceState: Bundle?
    ): View? {
        swipeBackLayout =
            SwipeBackLayout(requireContext()).apply {
                attachToFragment(
                    this@ReportFragment,
                    inflater.inflate(R.layout.report_layout, container, false)
                        .apply { appendBackground() } // add a default background color to make it opaque

                )
                setEnableGesture(false) //default false
            }
        return swipeBackLayout
    }
private fun View.appendBackground() {
    val a: TypedArray =
        requireActivity().theme.obtainStyledAttributes(intArrayOf(android.R.attr.windowBackground))
    val background = a.getResourceId(0, 0)
    a.recycle()
    setBackgroundResource(background)
}
ShowDialog
定义DialogFragment
class DialogFragment : DialogFragment() {

    override fun onCreateView(
        inflater: LayoutInflater,
        container: ViewGroup?,
        savedInstanceState: Bundle?
    ): View? {
        return inflater.inflate(R.layout.fragment_dialog, container, false)
    }
}
显示Dialog
navigator.showDialog(DialogFragment::class)
//创建Destination
val destination = DialogFragmentNavigatorDestinationBuilder(
       navigatorProvider[DialogFragmentNavigator::class],
       destId, clazz ).apply {
            label = clazz.qualifiedName
       }.build()

//添加到Graph
graph.plusAssign(destination)
最后

https://github.com/vitaviva/fragivity
推荐阅读
• 耗时2年,Android进阶三部曲第三部《Android进阶指北》出版!
• 『BATcoder』做了多年安卓还没编译过源码?一个视频带你玩转!
BATcoder技术群,让一部分人先进大厂
大家好,我是刘望舒,腾讯云最具价值专家TVP,著有畅销书《Android进阶之光》《Android进阶解密》《Android进阶指北》,蝉联四届电子工业出版社年度优秀作者,谷歌开发者社区特邀讲师,百度百科收录的技术专家。
前华为面试官,现大厂技术负责人。
想要加入 BATcoder技术群,公号回复BAT 即可。
为了防止失联,欢迎关注我的小号
微信改了推送机制,真爱请星标本公号👇
评论
