
微软也爱 Python!VS Code Python 全新发布!
北京时间 2019 年 10 月 9 日,微软发布了全新的 VS Code Python 插件,带来了众多更新!其中,最大的更新就要属万众期待的 Jupyter Notebook 原生支持了!
我们来看看这次 Jupyter Notebook 的原生支持带来了哪些好用的功能吧!
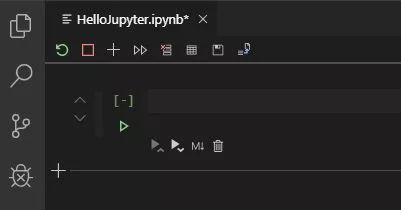
创建 Jupyter Notebook
当安装好 Python 插件最新版后,使用快捷键 Ctrl+Shift+P 调出 Command Palette,然后输入 "Python: Create New Blank Jupyter Notebook" ,就能创建一个新的 Jupyter Notebook。
如果你已经有一个 Jupyter Notebook 文件了,你可以在 VS Code 中双击打开这个文件,或者在 Command Palette 里通过 "Python: Open in Notebook Editor" 打开。
管理 cells
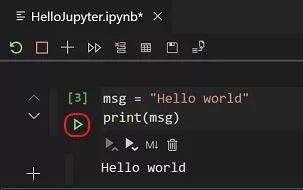
VS Code 的 Jupyter Notebook Editor 使得开发者可以轻松地创建、编辑和运行 code cells。
创建 code cells
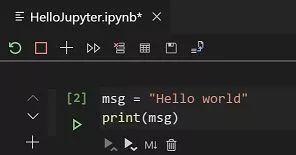
添加额外的 code cells
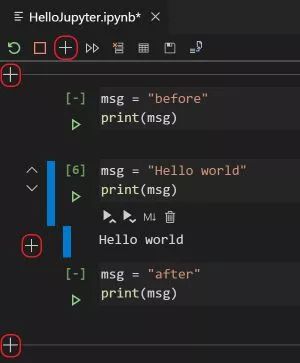
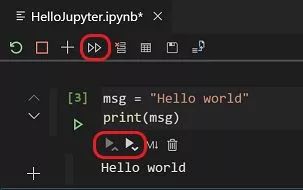
运行单个 code cell
运行多个 code cells
移动 code cell
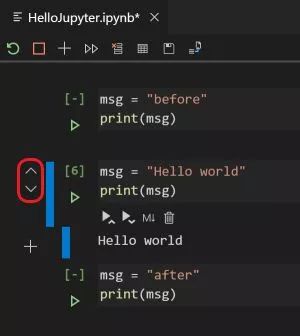
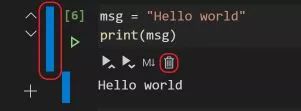
删除 code cell
在代码与 markdown 之间切换

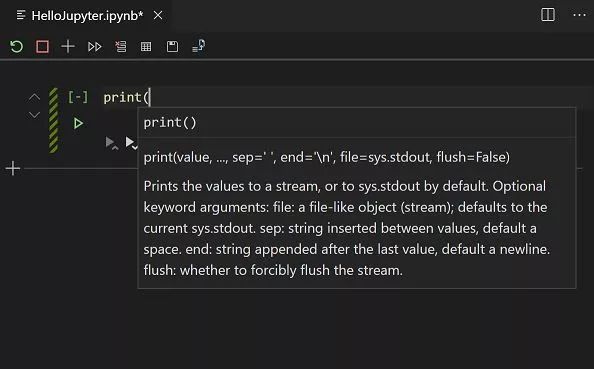
Intellisense 支持
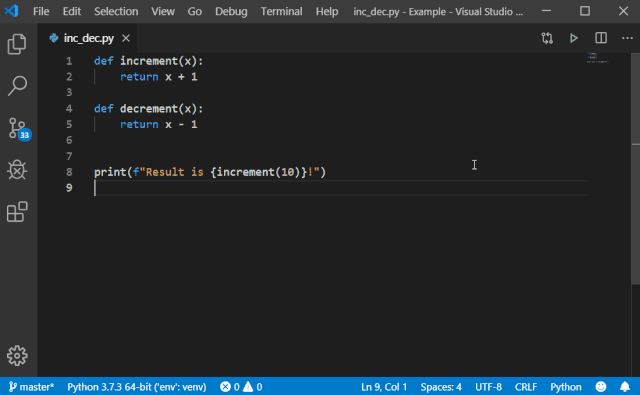
在 VS Code 中编辑 Jupyter Notebook 的 Python 代码,就犹如平时在 VS Code 编写 Python 文件一样,有强大的 IntelliSense(智能提示)、变量/函数的 hover 提示等等功能。
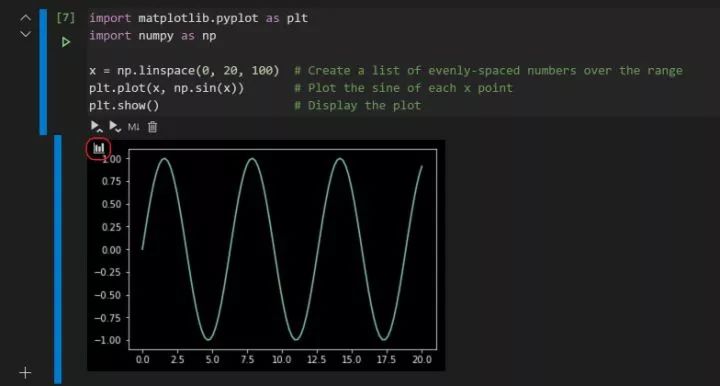
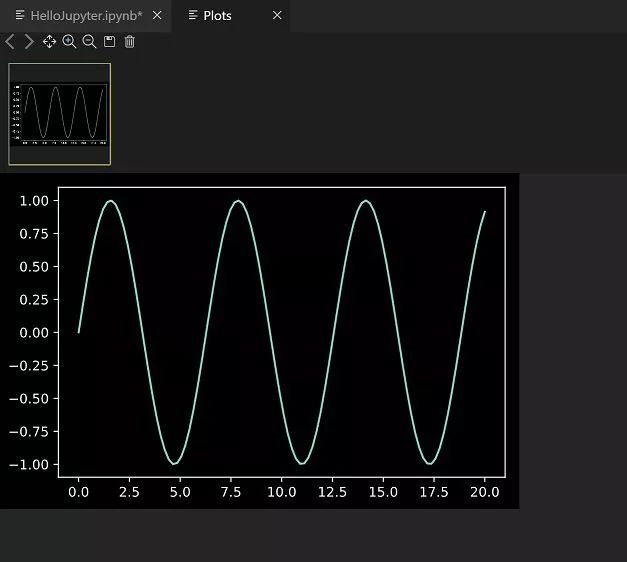
图表查看器
通过图表查看器,轻松查看输出的图表,放大缩小极为简便,还能导出为 PDF、SVG 或者 PNG 格式的文件。
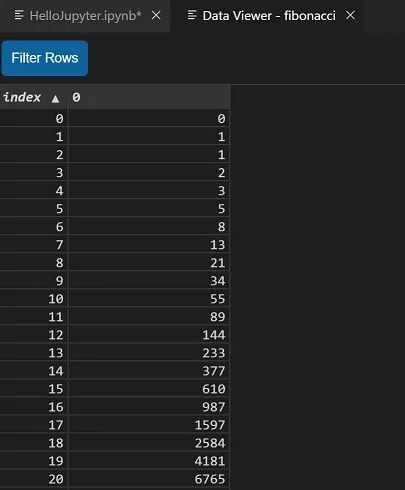
数据查看器和变量查看器
在 VS Code 中,可以通过变量查看器实时地查看变量的类型、数量与值。
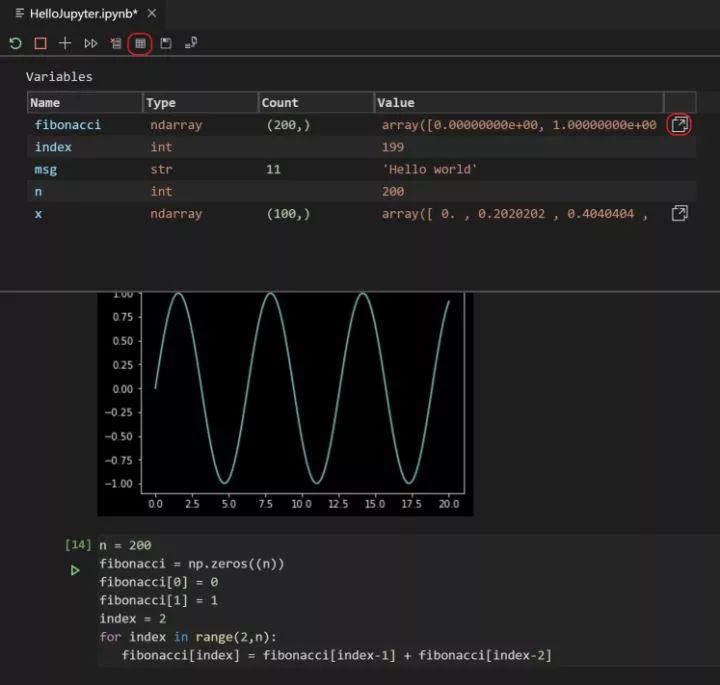
此外,还可以通过数据查看器浏览更具体的数据。
调试 Jupyter Notebook
目前,如果要调试 Jupyter Notebook,需要先把 Jupyter Notebook 转为 Python 文件,再进行调试。开发团队正在努力工作,未来,将能直接在 Jupyter editor 里进行调试!

连接到远程的 Jupyter server
使用快捷键 Ctrl+Shift+P 调出 Command Palette,然后输入 "Python: Specify Jupyter server URI"。
在输入框中,输入远程 Jupyter server 的 URI。

其他更新
除了 Jupyter Notebook 的原生支持,此次新版还带了其他重要更新。
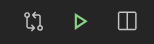
运行按钮
Python 插件学习了 Code Runner 插件的做法,添加了一个运行按钮,方便大家一键运行代码。为了防止同时出现两个运行按钮,如果用户已经安装了 Code Runner,那么 Python 插件的运行按钮将不会显示。
新版本带来来三个新的 Lint 规则:
no method argument
no self argument
no cls argument
大家是不是对这些新功能已经期待已久了?赶紧来下载最新的 Python 插件来体验一下吧!
Microsoft ❤️ Python