如何用CSS实现漂亮的个人资料卡效果
点击上方 前端瓶子君,关注公众号
回复算法,加入前端编程面试算法每日一题群
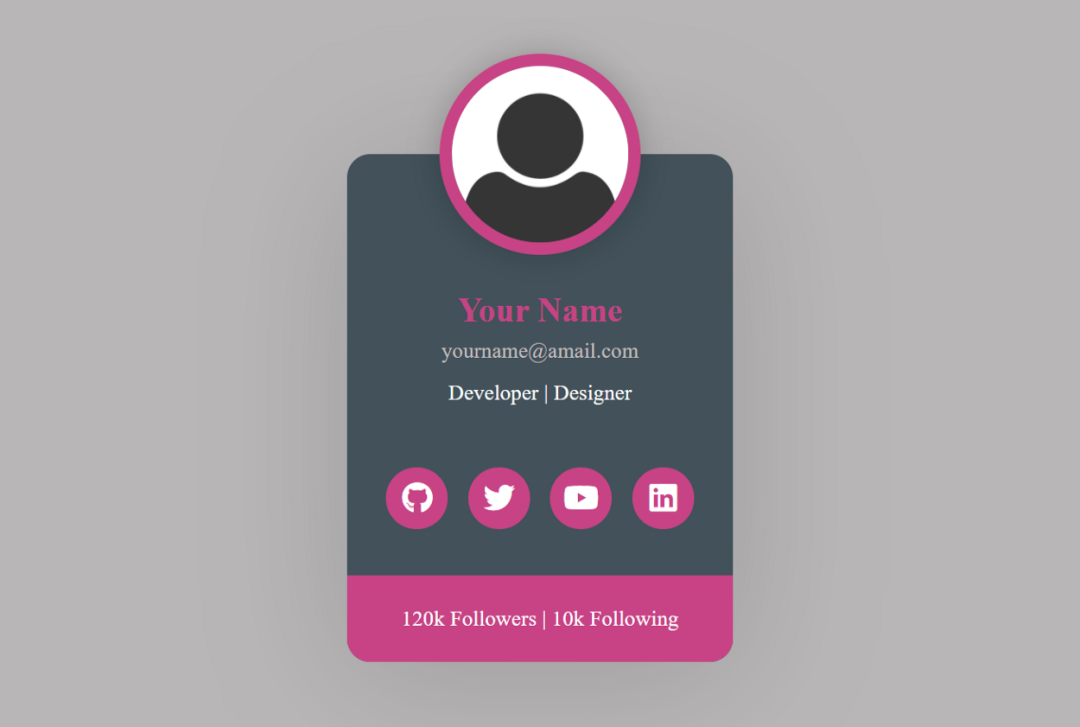
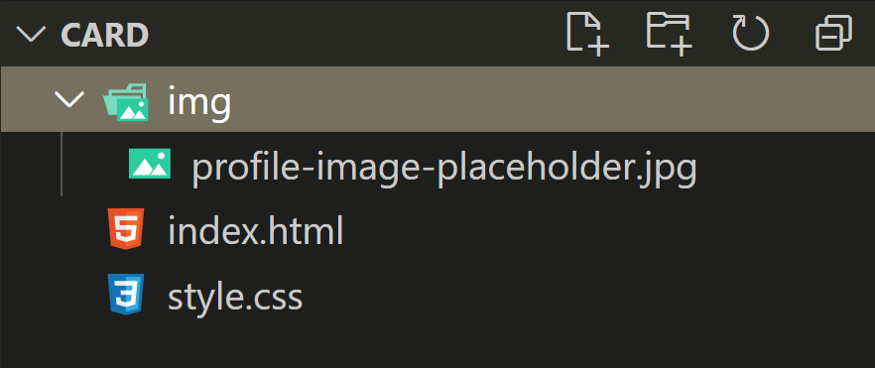
HTML
<html lang="en"><head><meta charset="UTF-8"><meta http-equiv="X-UA-Compatible" content="IE=edge"><meta name="viewport" content="width=device-width, initial-scale=1.0"><link rel="stylesheet" href="https://cdnjs.cloudflare.com/ajax/libs/font-awesome/5.15.3/css/all.min.css"/><link rel="stylesheet" href="style.css"><title>Awesome Profile Card</title></head><body><div class="card"><div class="card-header"><img src="img/profile-image-placeholder.jpg" alt="Profile Image" class="profile-img"></div><div class="card-body"><p class="name">Your Name</p><a href="#" class="mail">yourname@amail.com</a><p class="job">Developer | Designer</p></div><div class="social-links"><a href="#" class="fab fa-github social-icon"></a><a href="#" class="fab fa-twitter social-icon"></a><a href="#" class="fab fa-youtube social-icon"></a><a href="#" class="fab fa-linkedin social-icon"></a></div><div class="card-footer"><p class="count"><span>120k</span> Followers | <span>10k</span> Following</p></div></div></body></html>
* {margin: 0;padding: 0;box-sizing: border-box;text-decoration: none;transition: 0.3s;}body {font-family: "Montserrat";background-color: #b8b6b6;color: #fdfdfd;}
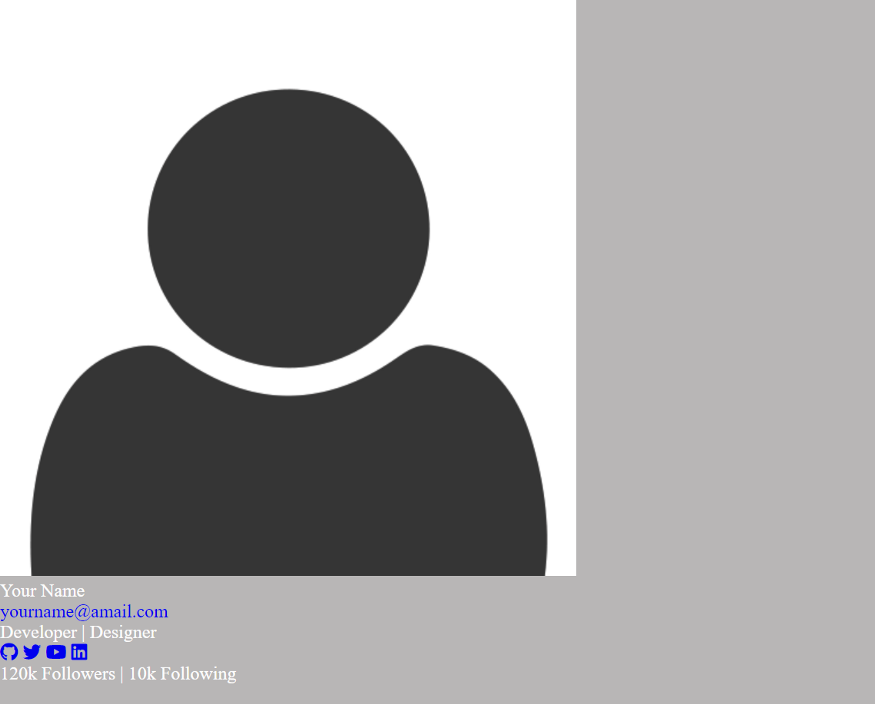
.card {max-width: 250px;margin: 150px auto 0;background-color: #42515a;box-shadow: 0 10px 90px #00000024;text-align: center;font-size: 20px;border-radius: 15px;}.card .card-header {position: relative;height: 48px;}
个人资料图片
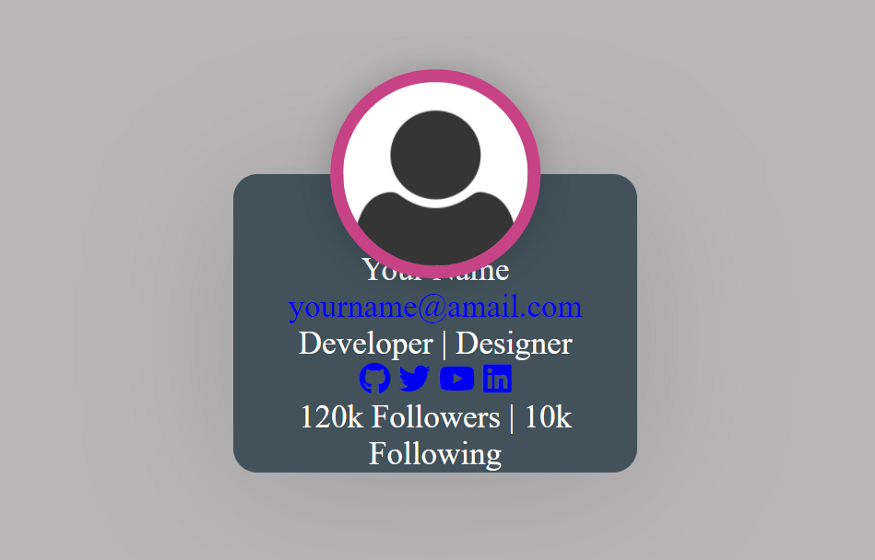
然后,我们将样式添加到个人资料图像。还有一些简单的悬停效果。
.card .card-header .profile-img {width: 130px;height: 130px;border-radius: 1000px;position: absolute;left: 50%;transform: translate(-50%, -50%);border: 8px solid #c74385;box-shadow: 0 0 20px #00000033;}.card .card-header .profile-img:hover {width: 180px;height: 180px;border: 8px solid #d885af;}
现在,我们应该看到卡中的一些重大更改。它正在变成很酷的东西。
卡体设计
该card-body内容包含姓名,电子邮件和专业。我们将为每个样式添加不同的样式。当然还有一些悬停效果。
.card .card-body {padding: 10px 40px;}.card .card-body .name {margin-top: 30px;font-size: 22px;font-weight: bold;color: #c74385;}.card .card-body .name:hover {margin-top: 30px;font-size: 24px;color: #d885af;}.card .card-body .mail {font-size: 14px;color: #c2bdbd;}.card .card-body .mail:hover {font-size: 16px;color: #ffffff;}.card .card-body .job {margin-top: 10px;font-size: 14px;}
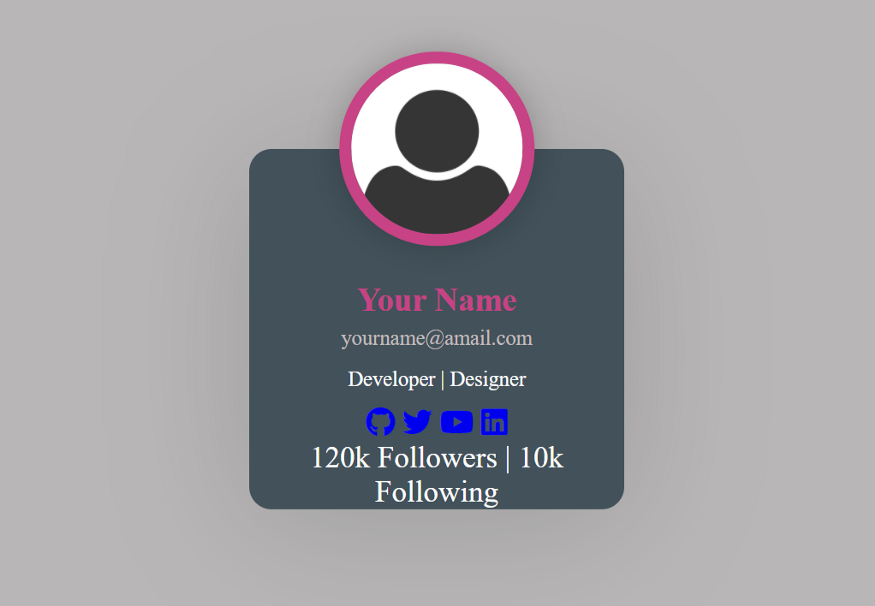
更改后,卡片样式如下图所示。
添加社交链接信息
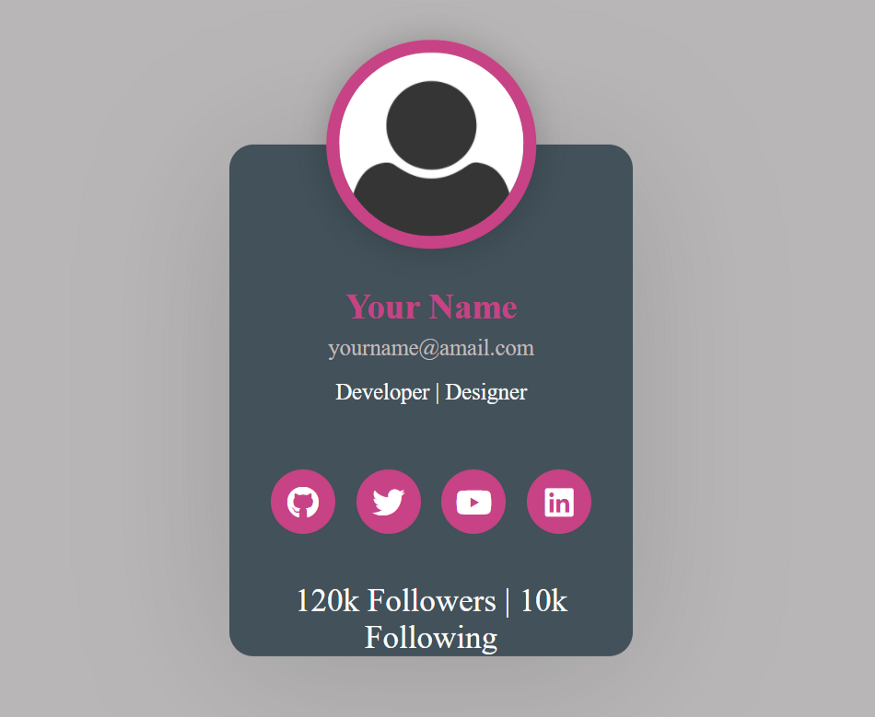
现在,我们为卡片添加自定义社交链接。我们已经font-awesome在HTML中使用了图标。我们将使用CSS修改一下图标样式,让其变得更漂亮。
.card .social-links {display: flex;justify-content: center;align-items: center;margin-top: 30px;}.card .social-links .social-icon {display: inline-flex;align-items: center;justify-content: center;height: 40px;width: 40px;background-color: #c74385;color: #ffffff;font-size: 20px;border-radius: 100%;text-decoration: none;margin: 0 13px 30px 0;}.card .social-links .social-icon:last-child {margin-right: 0;}.card .social-links .social-icon:hover {background-color: #d885af;height: 50px;width: 50px;text-decoration: none;}
添加页脚样式
.card .card-footer {background-color: #c74385;border-bottom-left-radius: 15px;border-bottom-right-radius: 15px;padding: 20px 0 20px 0;}.card .card-footer .count {font-size: 14px;}
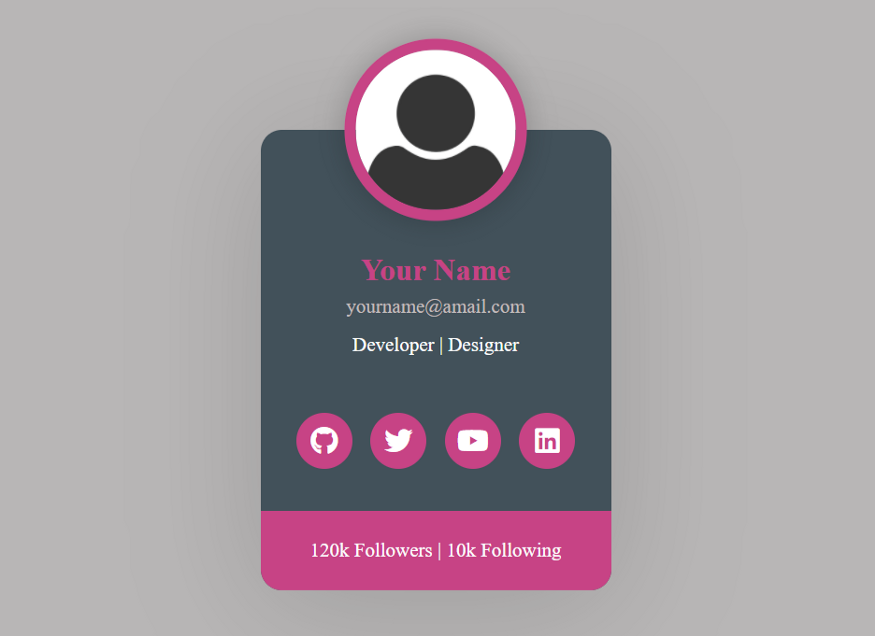
我们将通过一些媒体查询来完成我们的设计。
@media screen and (max-width: 575px) {.card {width: 96%;}.card .card-body {padding: 10px 20px;}}
结论
最后
评论
