ES01# FileBeat与Elasticsearch集成
引言
对Elasticsearch体系化学习梳理,本文为第一篇,filebeat与Elasticsearch的集成部署,文章主要内容有:
- Elasticsearch安装与部署
- Kibana安装与部署
- FileBeat与Elasticsearch集成
// 下载地址 本文为Elasticsearch 7.10.2
https://www.elastic.co/cn/downloads/past-releases#elasticsearch
2.安装包目录
| 目录 | 说明 |
|---|---|
| bin | 脚本目录,启动ES节点和安装插件 |
| config | 配置文件目录 |
| data | 数据目录 |
| jdk | jre运行环境 |
| lib | 依赖类库 |
| logs | 日志目录 |
| modules | 模块目录 |
| plugins | 插件目录 |
3.集群部署
部署一个由三个几点组成的ES集群,下面为详细步骤。
安装文档
https://www.elastic.co/guide/en/elasticsearch/reference/7.10/targz.html
参数说明
bin/elasticsearch -h
Option                Description
------                -----------
-E      Configure a setting
-V, --version         Prints Elasticsearch version information and exits
-d, --daemonize       Starts Elasticsearch in the background
-h, --help            Show help
-p, --pidfile   Creates a pid file in the specified path on start
-q, --quiet           Turns off standard output/error streams logging in console
-s, --silent          Show minimal output
-v, --verbose         Show verbose output
安装命令
bin/elasticsearch -d -Ecluster.name=melon_cluster -Enode.name=node_1  -Epath.data=node1_data

bin/elasticsearch -d -Ecluster.name=melon_cluster -Enode.name=node_2  -Epath.data=node2_data

bin/elasticsearch -d -Ecluster.name=melon_cluster -Enode.name=node_3  -Epath.data=node3_data
备注:通过-E来指定K/V存储参数,cluster.name集群名称,node.name节点名称,path.data数据存储目录
集群节点
curl http://localhost:9200/_cat/nodes
127.0.0.1 33 100 30 4.40   cdhilmrstw * node_1
127.0.0.1 22 100 30 4.40   cdhilmrstw - node_3
127.0.0.1 24 100 30 4.40   cdhilmrstw - node_2
备注:集群三个节点构成
集群健康
curl http://localhost:9200/_cluster/health
{
    "cluster_name":"melon_cluster",
    "status":"green",
    "timed_out":false,
    "number_of_nodes":3,
    "number_of_data_nodes":3,
    "active_primary_shards":0,
    "active_shards":0,
    "relocating_shards":0,
    "initializing_shards":0,
    "unassigned_shards":0,
    "delayed_unassigned_shards":0,
    "number_of_pending_tasks":0,
    "number_of_in_flight_fetch":0,
    "task_max_waiting_in_queue_millis":0,
    "active_shards_percent_as_number":100
}
备注:集群状态为健康green
二、Kibana安装与部署1.下载安装包// 下载地址, 本文为 Kibana 7.10.2
https://www.elastic.co/cn/downloads/past-releases#kibana
2.启动kibana
bin/kibana
...
log   [14:08:09.911] [info][plugins][watcher] Your basic license does not support watcher. Please upgrade your license.
log   [14:08:09.915] [info][kibana-monitoring][monitoring][monitoring][plugins] Starting monitoring stats collection
log   [14:08:10.984] [info][listening] Server running at http://localhost:5601
log   [14:08:11.936] [info][server][Kibana][http] http server running at http://localhost:5601
...
3.界面显示
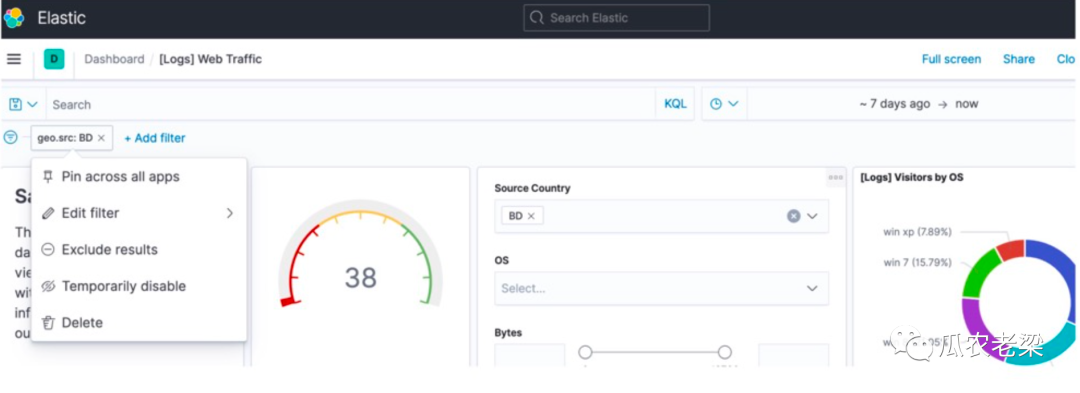
浏览器访问:http://localhost:5601,根据引导导入一些测试数据

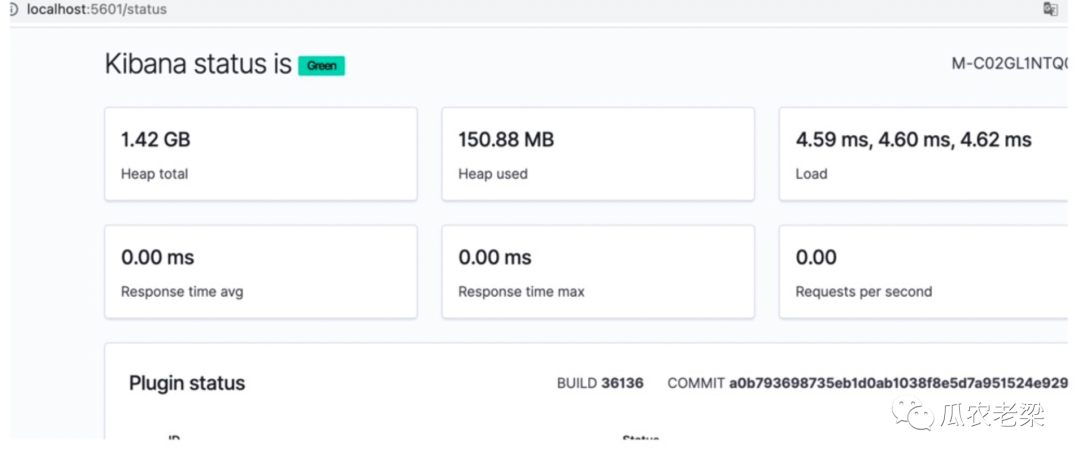
4.状态检查
http://localhost:5601/status

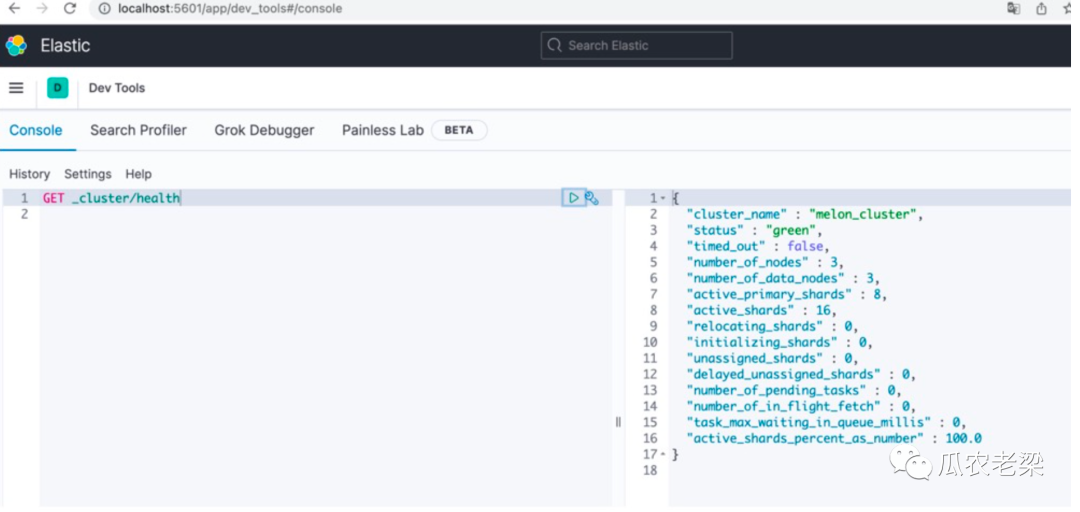
5.执行ES语法
检查集群状况情况。

三、FileBeat与Elasticsearch集成
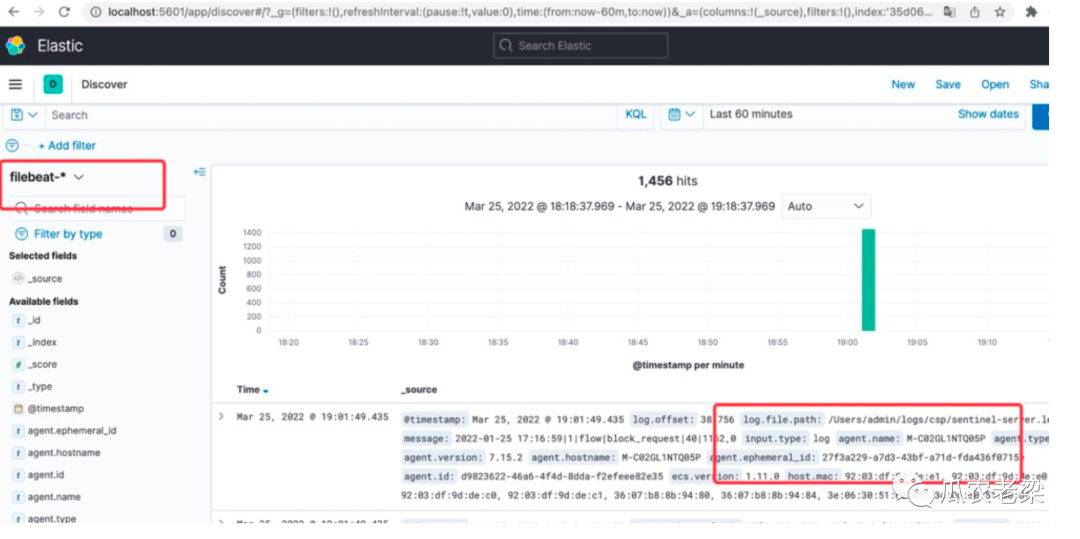
通常FileBeat不直接写入Elasticsearch,先写入Kafka削峰填谷,再消费数据写入Elasticsearch。本文FileBeat直接写入Elasticsearch,通过Kibana查询写入的数据。
1.下载安装包
本文以Filebeat 7.15.2为例
https://www.elastic.co/cn/downloads/past-releases#filebeat
2.官方安装文档
https://www.elastic.co/guide/en/beats/filebeat/current/filebeat-installation-configuration.html
3.配置修改
3.1 配置输入目录
type: log
  # Change to true to enable this input configuration.
  enabled: true
  # Paths that should be crawled and fetched. Glob based paths.
  paths:
    - /Users/admin/logs/csp/*.log

filebeat.config.modules:
  # Glob pattern for configuration loading
  path: ${path.config}/modules.d/*.yml

  # Set to true to enable config reloading
  reload.enabled: true

  # Period on which files under path should be checked for changes
  reload.period: 10s
备注:在filebeat.yml将enable设置为TRUE,指定收集目录path。
3.2 配置kibana
setup.kibana:

  # Kibana Host
  # Scheme and port can be left out and will be set to the default (http and 5601)
  # In case you specify and additional path, the scheme is required: http://localhost:5601/path
  # IPv6 addresses should always be defined as: https://[2001:db8::1]:5601
  host: "localhost:5601"
备注:在filebeat.yml指定kibana部署地址。
3.3 配置输出elasticsearch
output.elasticsearch:
  # Array of hosts to connect to.
  hosts: ["localhost:9200"]
备注:在filebeat.yml指定elasticsearch的地址。
4.部署启动
sudo chown root filebeat.yml
sudo filebeat -e
5.检索日志

评论
