SpringBoot实现登录拦截器(实战版)
---
对于管理系统或其他需要用户登录的系统,登录验证都是必不可少的环节,在SpringBoot开发的项目中,通过实现拦截器来实现用户登录拦截并验证。
1、SpringBoot实现登录拦截的原理
SpringBoot通过实现HandlerInterceptor接口实现拦截器,通过实现WebMvcConfigurer接口实现一个配置类,在配置类中注入拦截器,最后再通过@Configuration注解注入配置.
1.1、实现HandlerInterceptor接口
实现HandlerInterceptor接口需要实现3个方法:preHandle、postHandle、afterCompletion.
3个方法各自的功能如下:
package blog.interceptor;

import blog.entity.User;
import org.springframework.web.servlet.HandlerInterceptor;
import org.springframework.web.servlet.ModelAndView;

import javax.servlet.http.HttpServletRequest;
import javax.servlet.http.HttpServletResponse;
import javax.servlet.http.HttpSession;

public class UserLoginInterceptor implements HandlerInterceptor {

    /***
     * 在请求处理之前进行调用(Controller方法调用之前)
     */
    @Override
    public boolean preHandle(HttpServletRequest request, HttpServletResponse response, Object handler) throws Exception {
        System.out.println("执行了拦截器的preHandle方法");
        try {
            HttpSession session = request.getSession();
            //统一拦截(查询当前session是否存在user)(这里user会在每次登录成功后,写入session)
            User user = (User) session.getAttribute("user");
            if (user != null) {
                return true;
            }
            response.sendRedirect(request.getContextPath() + "login");
        } catch (Exception e) {
            e.printStackTrace();
        }
        return false;
        //如果设置为false时,被请求时,拦截器执行到此处将不会继续操作
        //如果设置为true时,请求将会继续执行后面的操作
    }

    /***
     * 请求处理之后进行调用,但是在视图被渲染之前(Controller方法调用之后)
     */
    @Override
    public void postHandle(HttpServletRequest request, HttpServletResponse response, Object handler, ModelAndView modelAndView) throws Exception {
        System.out.println("执行了拦截器的postHandle方法");
    }

    /***
     * 整个请求结束之后被调用,也就是在DispatchServlet渲染了对应的视图之后执行(主要用于进行资源清理工作)
     */
    @Override
    public void afterCompletion(HttpServletRequest request, HttpServletResponse response, Object handler, Exception ex) throws Exception {
        System.out.println("执行了拦截器的afterCompletion方法");
    }
}
preHandle在Controller之前执行,因此拦截器的功能主要就是在这个部分实现:
检查session中是否有user对象存在; 如果存在,就返回true,那么Controller就会继续后面的操作; 如果不存在,就会重定向到登录界面。就是通过这个拦截器,使得Controller在执行之前,都执行一遍preHandle.
1.2、实现WebMvcConfigurer接口,注册拦截器
实现WebMvcConfigurer接口来实现一个配置类,将上面实现的拦截器的一个对象注册到这个配置类中.
package blog.config;

import blog.interceptor.UserLoginInterceptor;
import org.springframework.context.annotation.Configuration;
import org.springframework.web.servlet.config.annotation.InterceptorRegistration;
import org.springframework.web.servlet.config.annotation.InterceptorRegistry;
import org.springframework.web.servlet.config.annotation.WebMvcConfigurer;

@Configuration
public class LoginConfig implements WebMvcConfigurer {

    @Override
    public void addInterceptors(InterceptorRegistry registry) {
        //注册TestInterceptor拦截器
        InterceptorRegistration registration = registry.addInterceptor(new UserLoginInterceptor());
        registration.addPathPatterns("/**"); //所有路径都被拦截
        registration.excludePathPatterns(    //添加不拦截路径
                "/login",                    //登录路径
                "/**/*.html",                //html静态资源
                "/**/*.js",                  //js静态资源
                "/**/*.css"                  //css静态资源
        );
    }
}
将拦截器注册到了拦截器列表中,并且指明了拦截哪些访问路径,不拦截哪些访问路径,不拦截哪些资源文件;最后再以@Configuration注解将配置注入。
1.3、保持登录状态
只需一次登录,如果登录过,下一次再访问的时候就无需再次进行登录拦截,可以直接访问网站里面的内容了。
在正确登录之后,就将user保存到session中,再次访问页面的时候,登录拦截器就可以找到这个user对象,就不需要再次拦截到登录界面了.
@RequestMapping(value = {"", "/", "/index"}, method = RequestMethod.GET)
public String index(Model model, HttpServletRequest request) {
    User user = (User) request.getSession().getAttribute("user");
    model.addAttribute("user", user);
    return "users/index";
}

@RequestMapping(value = {"/login"}, method = RequestMethod.GET)
public String loginIndex() {
    return "users/login";
}

@RequestMapping(value = {"/login"}, method = RequestMethod.POST)
public String login(@RequestParam(name = "username")String username, @RequestParam(name = "password")String password,
                    Model model, HttpServletRequest request) {
    User user = userService.getPwdByUsername(username);
    String pwd = user.getPassword();
    String password1 = MD5Utils.md5Code(password).toUpperCase();
    String password2 = MD5Utils.md5Code(password1).toUpperCase();
    if (pwd.equals(password2)) {
        model.addAttribute("user", user);
        request.getSession().setAttribute("user", user);
        return "redirect:/index";
    } else {
        return "users/failed";
    }
}
2、代码实现及示例
代码实现如上所示。
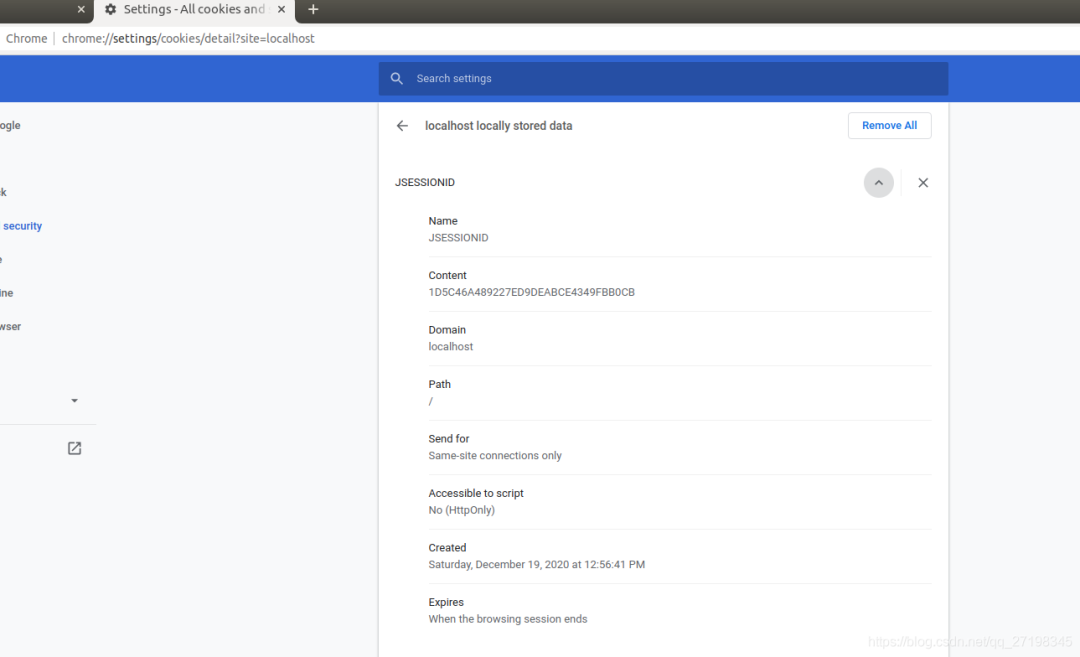
在登录成功之后,将user信息保存到session中,下一次登录时浏览器根据自己的SESSIONID就可以找到对应的session,就不要再次登录了,可以从Chrome浏览器中看到。

3、效果验证
3.1、访问localhost:8081/index页面:

被重定向到了localhost:8081/login,实现了登录拦截。
3.2、正确输入用户名和密码登录

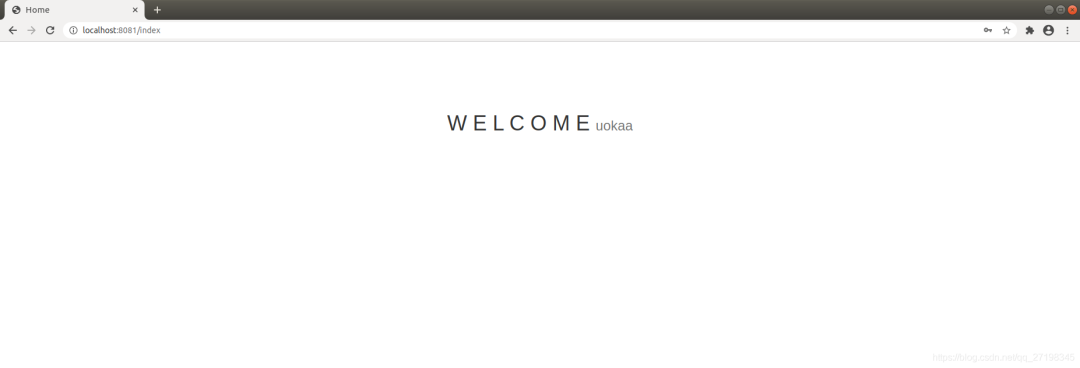
3.3、再次访问localhost:8081/index

没有再次被登录拦截器拦截,证明可以保持登录。
关注公众号【Java技术江湖】后回复“PDF”即可领取200+页的《Java工程师面试指南》
强烈推荐,几乎涵盖所有Java工程师必知必会的知识点,不管是复习还是面试,都很实用。

